Installing Wooden Fence Posts With A Mechanical Earth Drill
Installing a wooden fence is one of the top DIY projects most homeowners do to add security and privacy to their yards. Before completing a fencing project, you will need the tools and information to prepare for a successful wooden fence build. Of course, with any project, the key is to plan before digging holes or buying any post. Before making any changes to your landscape, you should call 811 to ensure you follow your municipality's local codes and ordinances. 811 is known as the "call-before-you-dig" phone number. After this number is called, a locator will come to your location, and this professional will mark where there are buried utilities with either paint or flags. Once these areas are marked, you should avoid them at all costs. Depending on your state, some areas require a permit before setting up a new fence, so you cannot skip this step. Always take as many precautions as possible before digging so you do not cause extensive damage to the area around you.
What Do You Need To Install A Wooden Fence?
First of all, to install a wooden fence, you'll need:
- Rope To Dictate The Distance Between Posts
- Quality Gravel
- A Level
- Concrete Mix
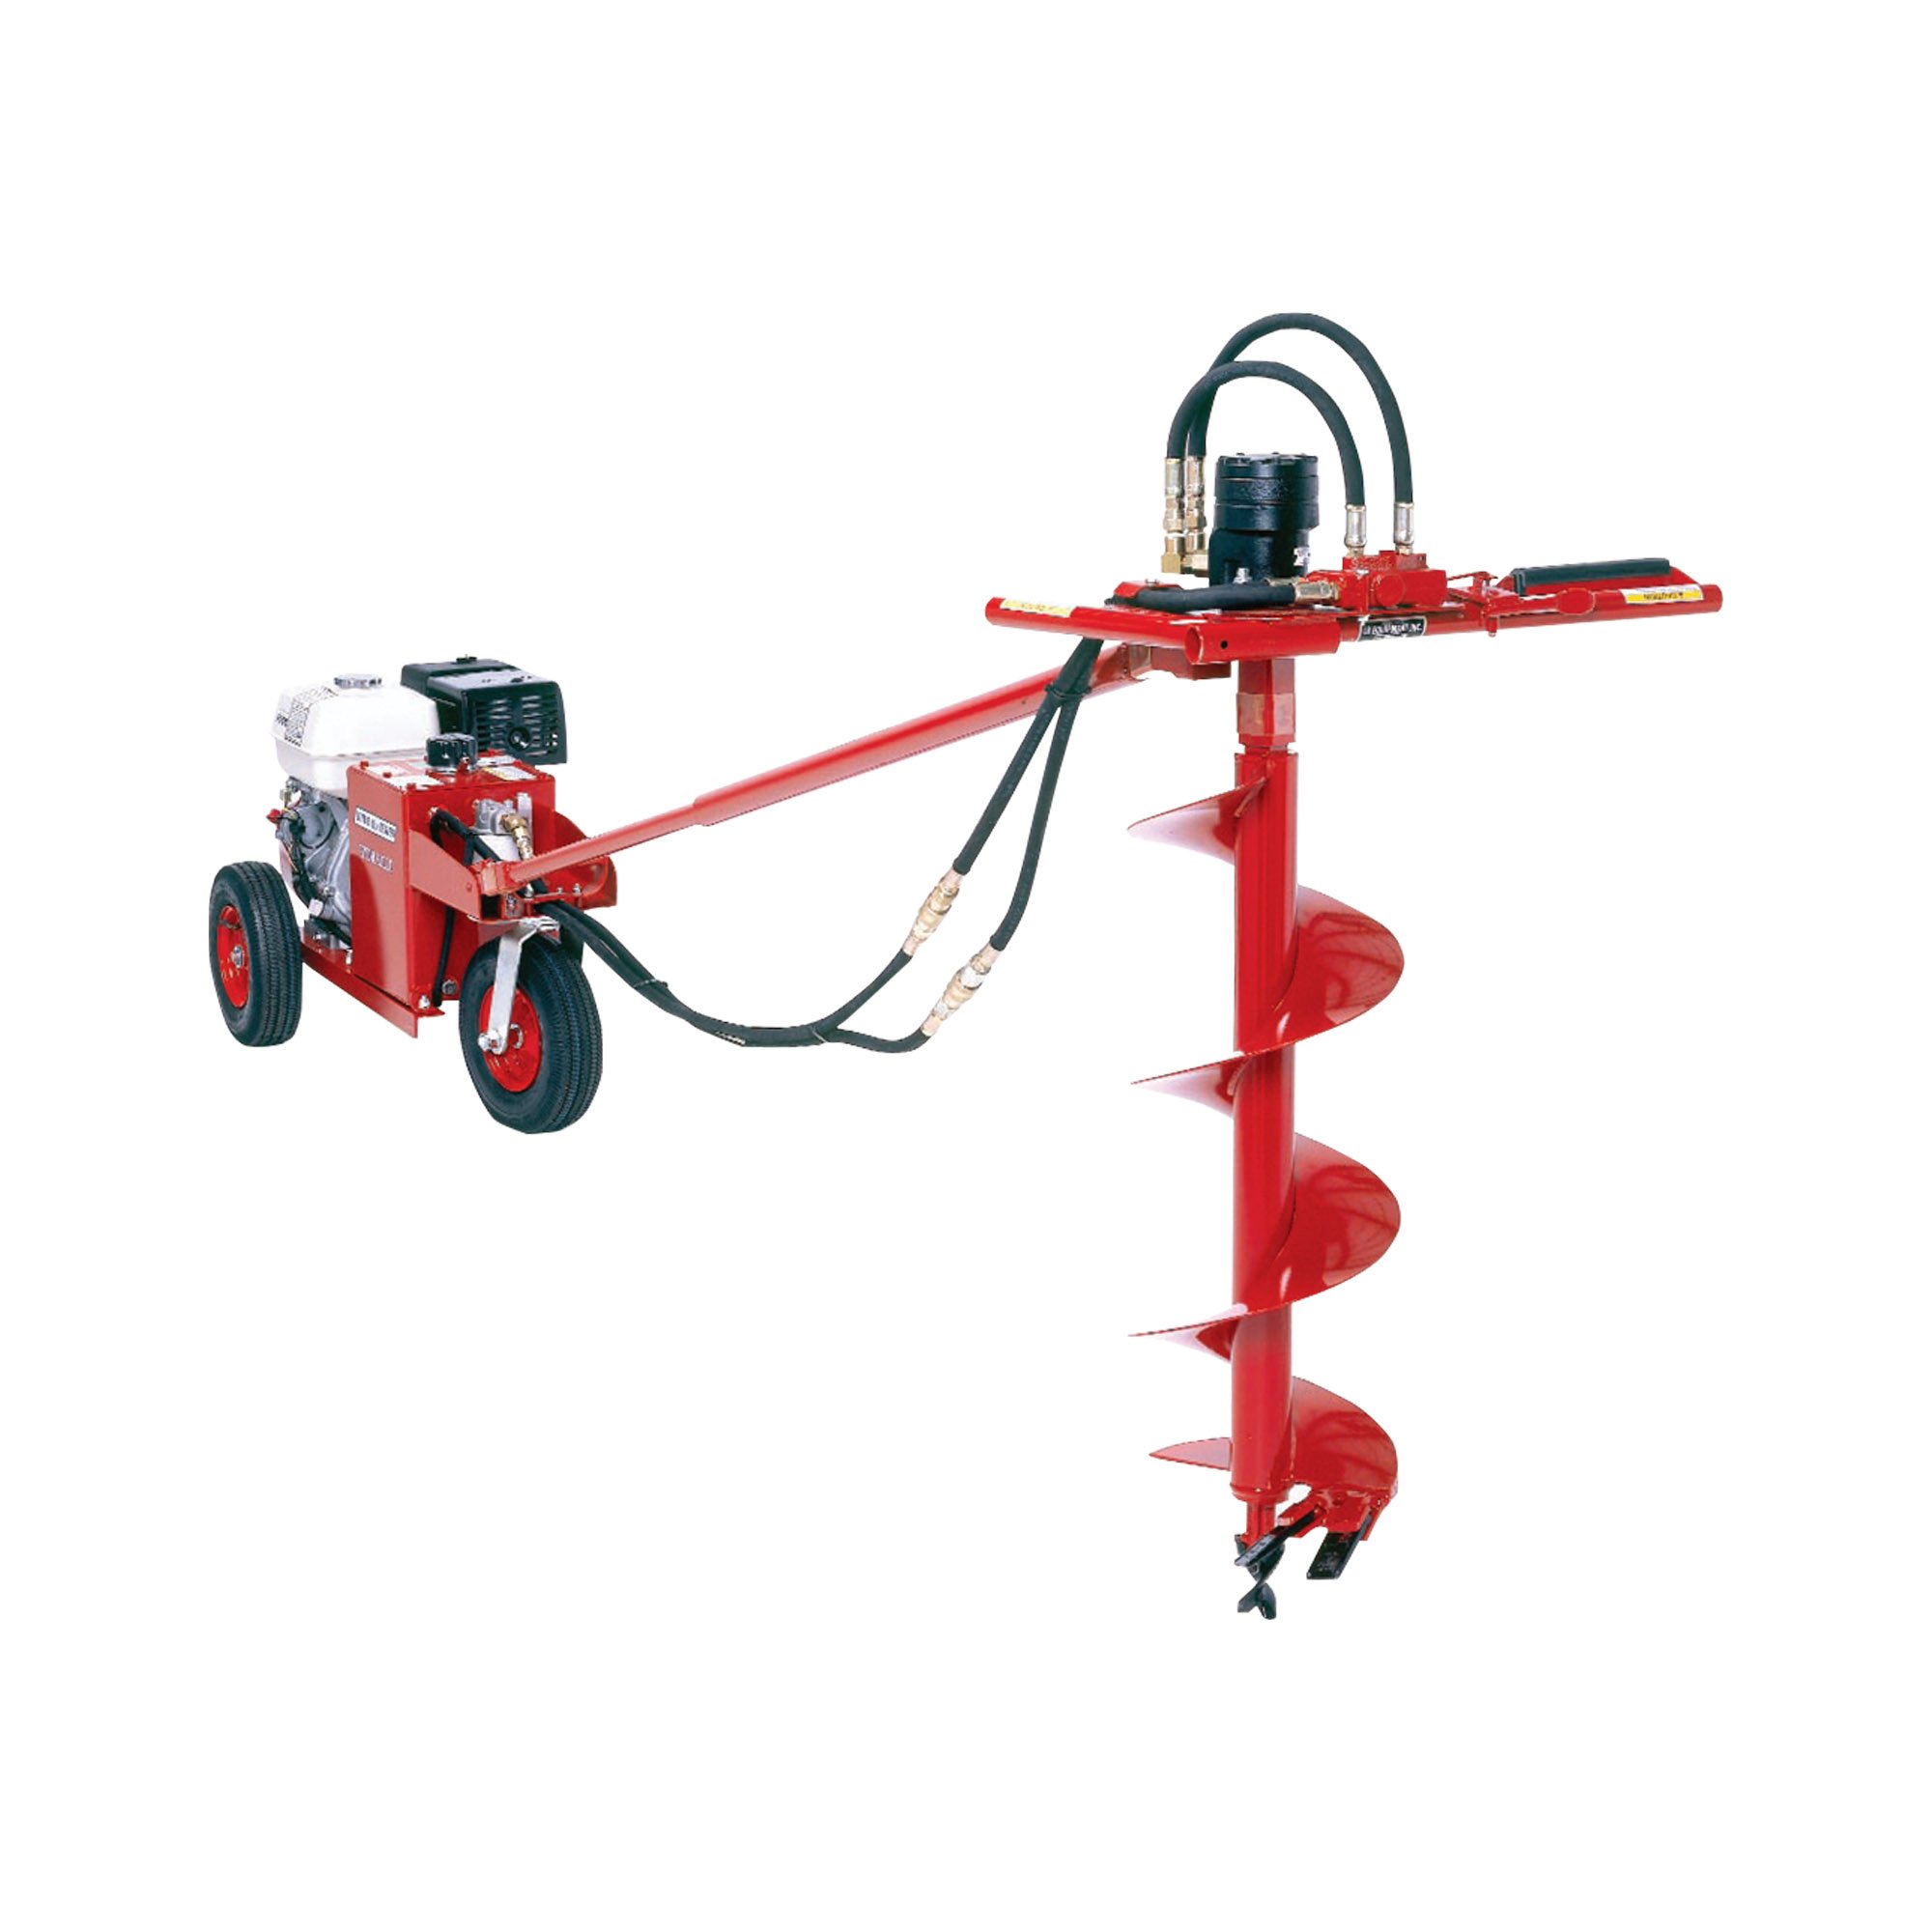
- Mechanical Earth Drill From Little Beaver With The Correct Auger
- Enough Stakes For Each Wood Post
- Wood Posts (Must Be At Least 8 Feet In Length)
- A Shovel
Choose Quality Wood For Your Posts
As you may know, one of the disadvantages of a wood fence is that it is a natural material and will eventually sag or crack over time. Choose quality wood for your fence. It would be best if you looked for chromated copper arsenate (CCA) pressure-treated wood. This type of wood will not decay as much as a cheaper wood material. Some fences made with this material can last up to 30 years. Some other woods you can use are redwood, sweetgum, and cedar. They are less likely to absorb moisture.
Getting Ready To Drill Your Wooden Posts
Once you are ready to start drilling, use your stake and rope to mark where your fence post will go. Your fence posts should be straight to create a uniform fence. Once these locations are marked, remove the sod layer where you will be drilling. The top layer of grass and vegetation will eventually clog your drill and cause a frustrating experience. Plus, if this sod is wet, it will further delay your drilling project.
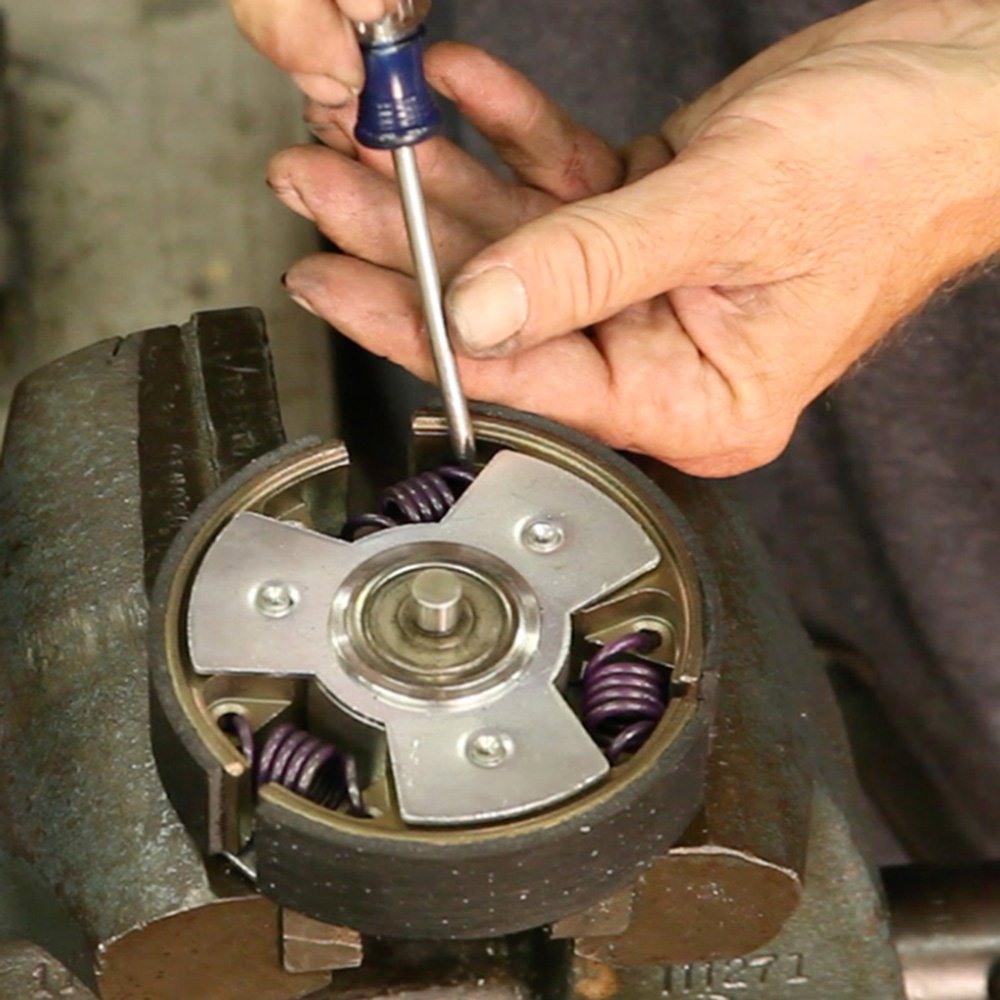
What Mechanical Drill Should I Use For My Wooden Fence Posts' Holes?
One of the best drills for your project is the Little Beaver mechanical drill. These drills have a torque tube with an additional slip clutch, a bonus safety feature not available on all mechanical drills. The torque tube absorbs shock so that shock does not go to the operator. The slip clutch protects the drill and operator if the drill hits a rock or tree root while digging.
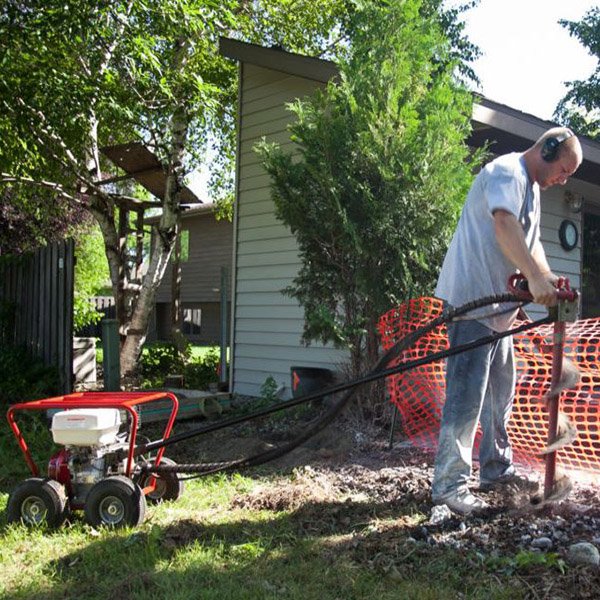
Time To Drill With A Mechanical Earth Drill!
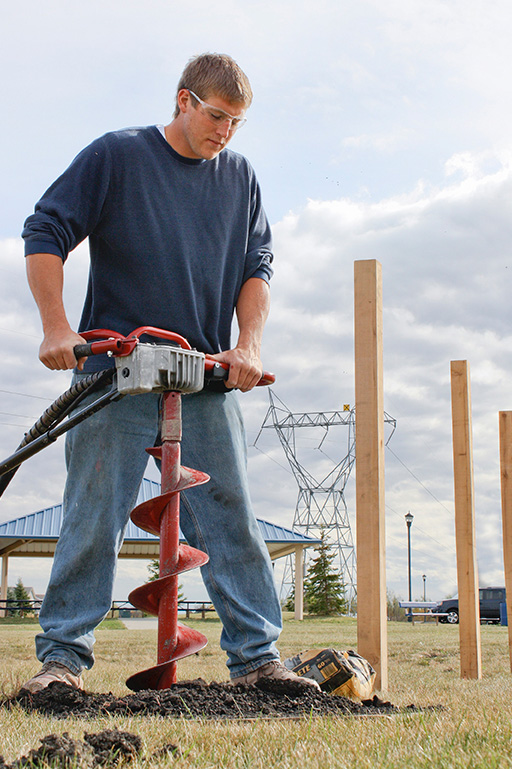
After you take these steps, it's time to drill! Let your auger enter the soil perpendicularly on those points you marked with stakes, and keep everything vertical as you drill. Do not place the auger in the ground at an angle. If this is done, you could create a crooked hole for a fence post or make a hole that is difficult to backfill.
Another key to digging wooden posts is ensuring the auger is three times wider than the posts. If your post has a diameter of 3 inches, your hole needs to be 9 inches wide. The hole depth must be one-third to one-half the post height above ground. For example, if your post is 9 feet tall, your hole depth should be 3 feet.
Another important note is that your climate will affect how deep you need to dig. If you live in an area that gets snow or freezes on occasion, dig below the frost line to stop fence posts from shifting or heaving. To accomplish this, find out where the frost line is in your yard and dig at least 6 inches below that. When you finish the hole, stop your auger and gently pull it out to create a clean hole. Thankfully, Little Beaver mechanical earth drills are light enough to pull out without much force.
Finally, Set Your Posts
Once the holes are created, you can pour gravel into the hole. About 3 to 4 inches will suffice. Do not fill your entire post hole with concrete, as this will trap water in your post and cause damage to the wood. If you have scrap lumber, use this to tamp down the gravel to allow for further drainage. Once the gravel is in place, add your concrete. You will use about 6 to 8 inches of concrete. Your post will go right smack in the middle of the mixture. Make sure to level your concrete and then backfill the hole with dirt and tamping. Depending on your concrete mix, it may take a few days or a week to set.
Once you wait for the allocated time, you are ready to create the rest of your fence!