How To Install Your Own Mailbox Post With Your Earth Drill
Outdoor DIY projects are a great way for any homeowner to save their hard-earned cash. The average cost to hire a handyman is between $60- $125 an hour, so depending on the job could run you a pricey bill. Avoid the price tag and take on easy outdoor tasks like putting in your own mailbox post with the aid of your Little Beaver earth drill.
Why Use A Earth Drill
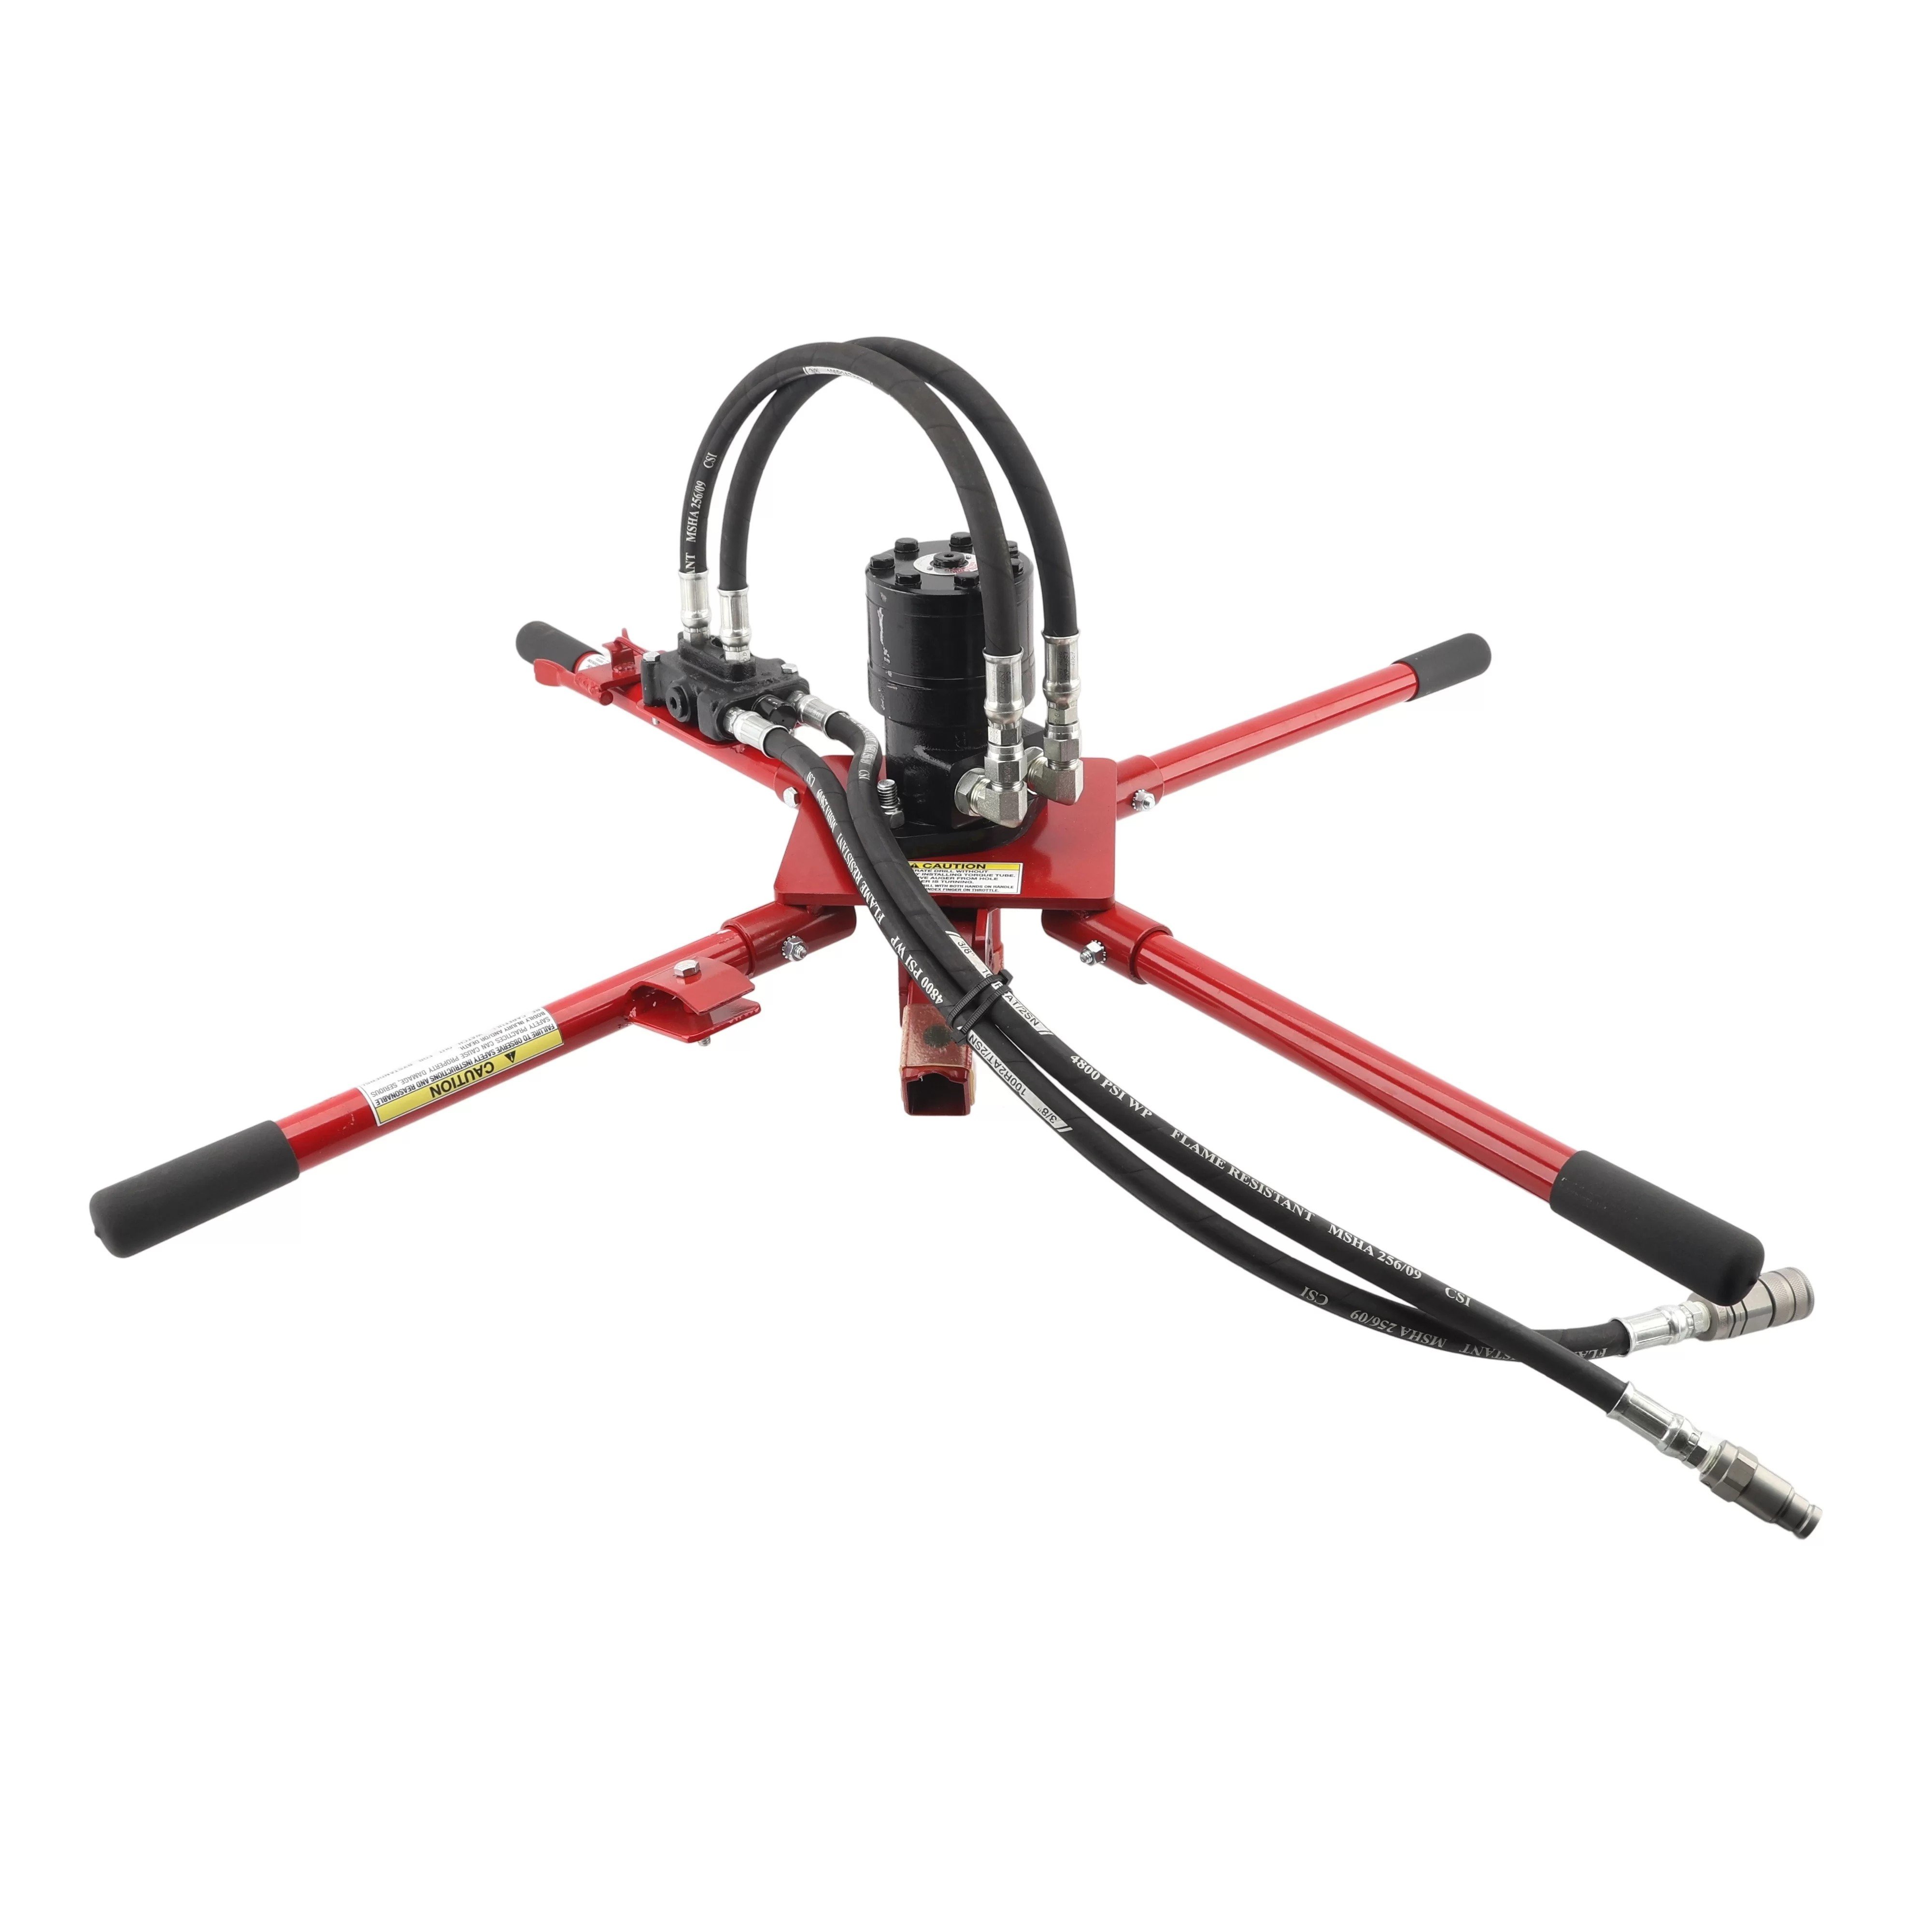
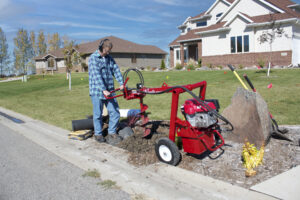
You might be asking, why not just use a regular shovel for installing my mailbox post? The answer is yes; a traditional shovel can get the job done, but it will be back-breaking work. Using a hydraulic or mechanical drill allows you to effortlessly dig a hole without having to break a sweat.
What Will I Need For This Project?
Luckily, this DIY project only requires a few items. We have composed a small list below of some of the main tools and materials needed. However, each project is unique, so your particular installation might require different items.
- Mailbox post (wood, steel, or aluminum will work)
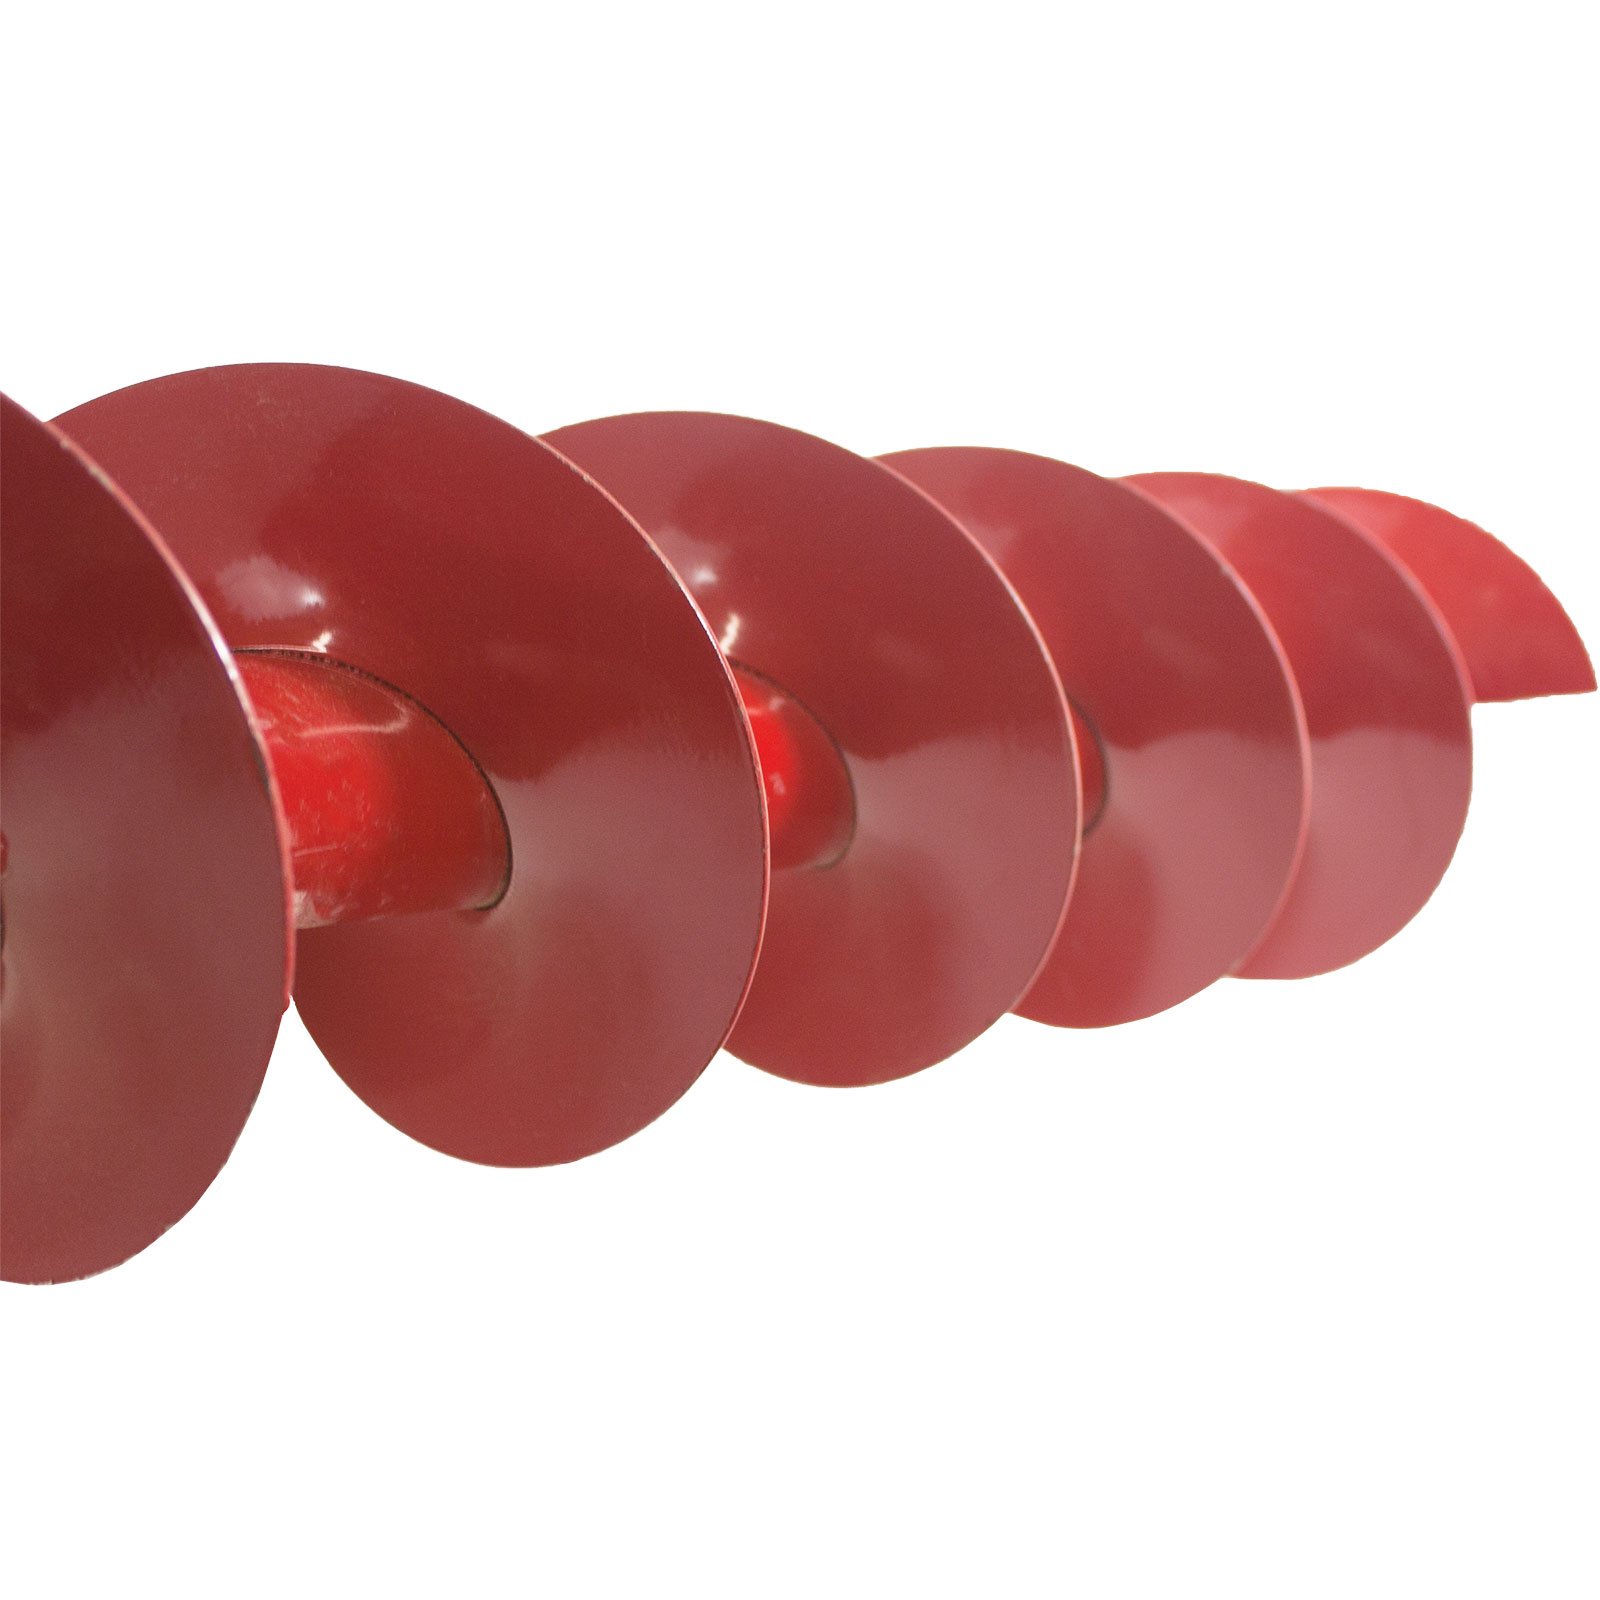
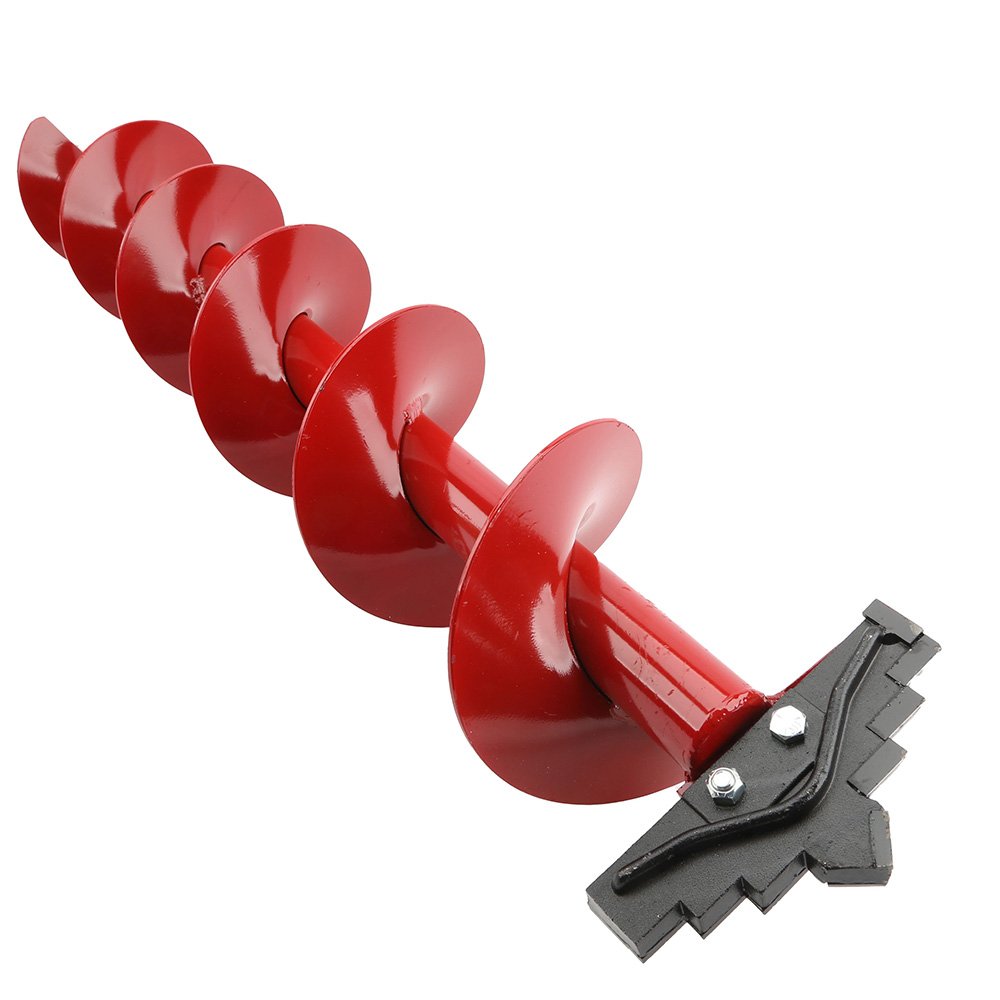
- Little Beaver drill, for proper installation, the auger will need to be 3 times the diameter of the post.
- Bag of concrete (optional)
- Your mailbox
Once you have collected all the necessary tools and materials, it is time to get to work. USPS guidelines require that all mailboxes be placed between six to eight inches back from the curb as well as at least 42 inches tall. We suggest marking this spot with spray paint or even digging a small test hole so you know where the installation needs to happen. After the spot has been marked and you can start officially drilling.
The depth of the hole needed for a mailbox post is traditionally between 20 and 24 inches. Once you have drilled that far, lift your auger from the hole and proceed on to the next steps. Concrete is not required in installing a mailbox post, but it does add elevated stability and security so that your post will stay in place. If wanting to use concrete, this will be the time to follow the concrete instructions to prepare it to be poured. After the concrete is ready, place your post into the hole and then begin pouring in the concrete mixture. Do not fill the hole completely with concrete; instead, leave a few inches at the top. Also, be sure to use a level to ensure your post is straight. Let the concrete completely set before attaching your mailbox to the post to avoid it shifting out of place.
For those who are not planning on using concrete, you can skip all those steps and begin to place the post into the hole. Once the post is completely covered and firmly placed, your mailbox can be added to the post.
Congratulations, you have officially completed your first DIY project. For more outdoor tasks you can do with your Little Beaver earth drill, take a look at our other articles.
Other Little Beaver Drill Articles