Creating a Chicken Run with your Little Beaver Auger
We're not professional farmers or backyard chicken gurus, but we've taken the time to research and gather helpful tips so your chicken run project goes as smoothly as possible. One thing we've learned loud and clear is the importance of giving your chickens space to roam. Chickens aren't just egg-laying machines; they're curious, active creatures that love to scratch at the dirt, hunt for bugs, and explore their surroundings. A well-planned run provides a safe space for them to do all of that while staying protected from predators. This extra space leads to healthier, less-stressed birds and even boosts egg production in the long run.
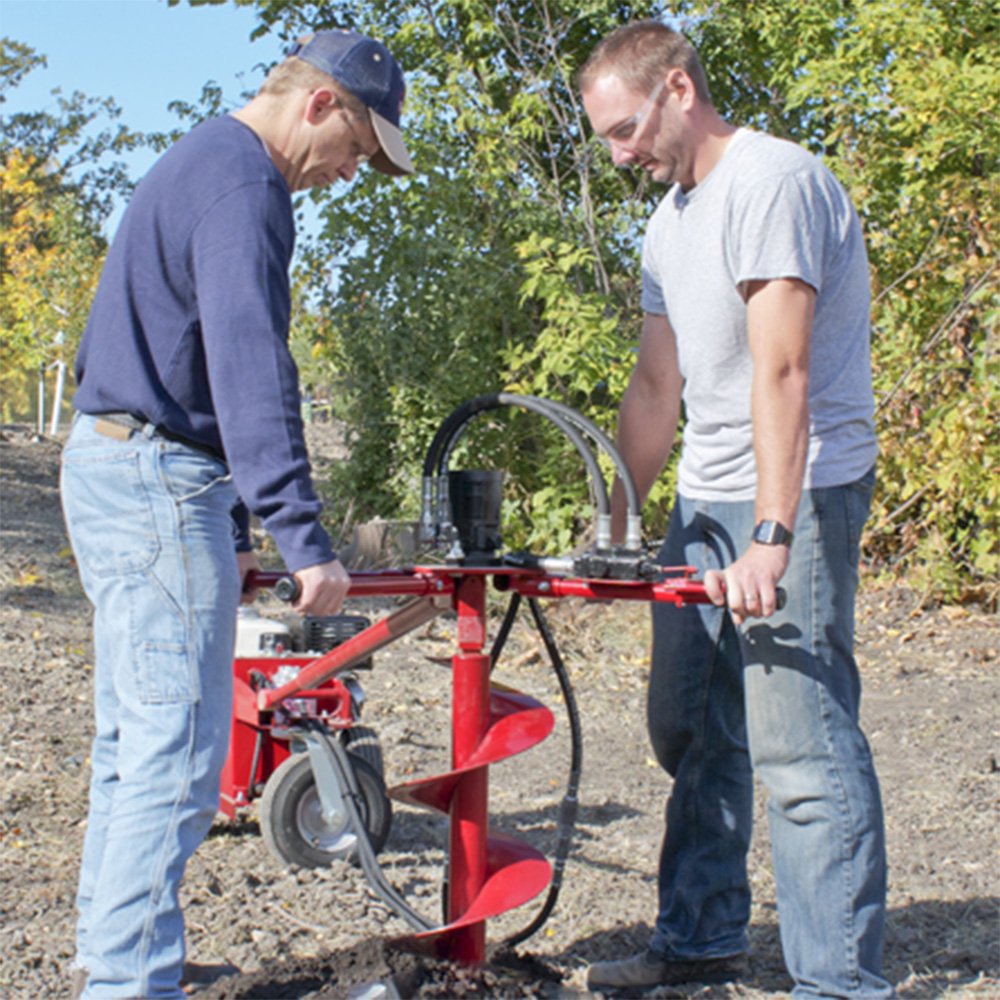
Most experts recommend about 10 square feet of space per chicken to keep your flock happy and content. You'll also want to consider the environment. If you live in a hotter climate, placing your run in a shady spot can keep your birds cool and comfortable. In colder areas, sunny exposure can help warm things up. For your comfort, we suggest making the run at least 6 feet tall so you can easily walk in for cleaning, feeding, or just checking on your birds. Using a Little Beaver auger can make digging those post holes quick and easy, especially if you're building a larger setup. Whether you're a seasoned homesteader or just getting started with backyard chickens, having a well-built run is a major step toward a happy, healthy flock.
Planning and Tools
Before building your chicken run, it's important to spend some time planning the layout. Start by measuring the area where you want the run to be located, taking into account the number of chickens you have and the space they'll need; approximately 10 square feet per bird is a good rule of thumb. Once you've decided on the dimensions, mark the spots for your support posts. Accurate marking will make the building process much easier and ensure your run is square and sturdy.
Essential Tools
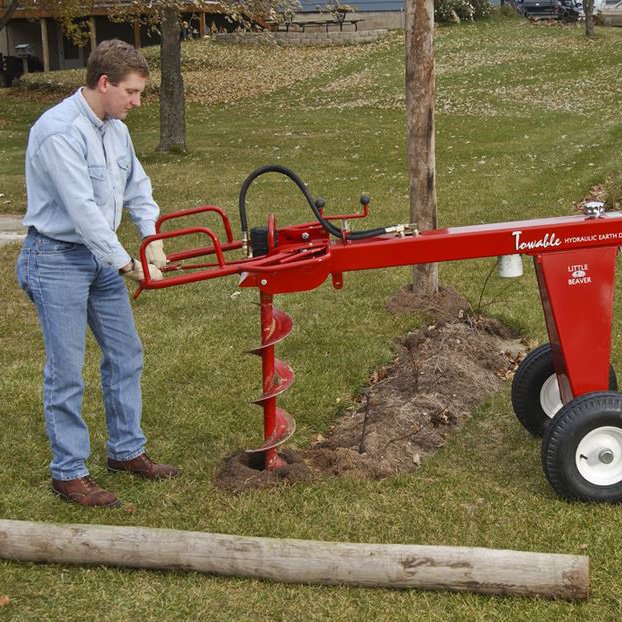
Having the right tools on hand can make your build quicker and more enjoyable. At the center of it all is the Little Beaver Earth Drill, a compact and powerful auger that takes the hard work out of digging post holes. If you're planning to trench around the perimeter to bury mesh or add underground protection, the Little Beaver Kwik-Trench Earth Saw is also a helpful option.
- Measuring tape and marking flags or stakes
- Little Beaver Mechanical Earth Drill for fast and easy post hole digging
- Kwik-Trench Earth Saw for perimeter trenching
- Shovel and level for fine adjustments
*Learn More about Little Beaver Earth Drills and Kwik-Trench Earth Saws here: Where to Buy an Auger or Trencher (And What to Look For)
Frame and Fencing Materials
The structural frame of your chicken run can be constructed from a variety of material types, each offering its own set of benefits depending on your priorities and budget. For a fast and cost-effective solution, T-posts are a popular choice and are relatively simple to install, making them ideal for quick setups or temporary enclosures. If you're aiming for something more permanent and long-lasting, pressure-treated wood provides excellent durability and can better withstand the elements over time. After the frame is in place, the next crucial step is to attach a secure and reliable covering, this will ensure your chickens stay safely inside the run while keeping out potential predators like raccoons, hawks, and foxes.
- T-posts or pressure-treated lumber
- Chicken wire, or poultry fencing
- Black-coated mesh (popular for better visibility and appearance)
- Staples, zip ties, fencing ties or hog ties to attach mesh to the frame
General Building Supplies
- Handsaw or circular saw (for cutting wood)
- Power drill or screwdriver
- Wood screws or construction screws
- Staple gun or hammer for attaching fencing materials
Optional Add-Ons
Installing a gate in your chicken run significantly improves accessibility, making daily tasks like feeding, watering, cleaning, and even spending time with your flock much more convenient. A simple swinging door can be easily constructed using a pair of sturdy hinges and a reliable latch, allowing for smooth entry and secure closure. This setup is especially beneficial when your run is free-standing and not directly attached to the coop, as it provides a designated access point without requiring you to lift or move panels. A well-placed gate not only adds functionality but also enhances the overall organization and usability of your chicken-keeping space.
- Gate hinges and latch hardware
- Handle or knob for convenience
As you finalize your layout, consider whether your chicken run will be attached to your coop or freestanding. Attached runs can offer easier access from the coop, while standalone runs give you more flexibility with placement and design. You'll also want to decide early on if you plan to include a door or gate for human access. If so, be sure to follow Steps 8-11 later in the guide for door installation tips.
Step-by-Step: How to Build a Chicken Run
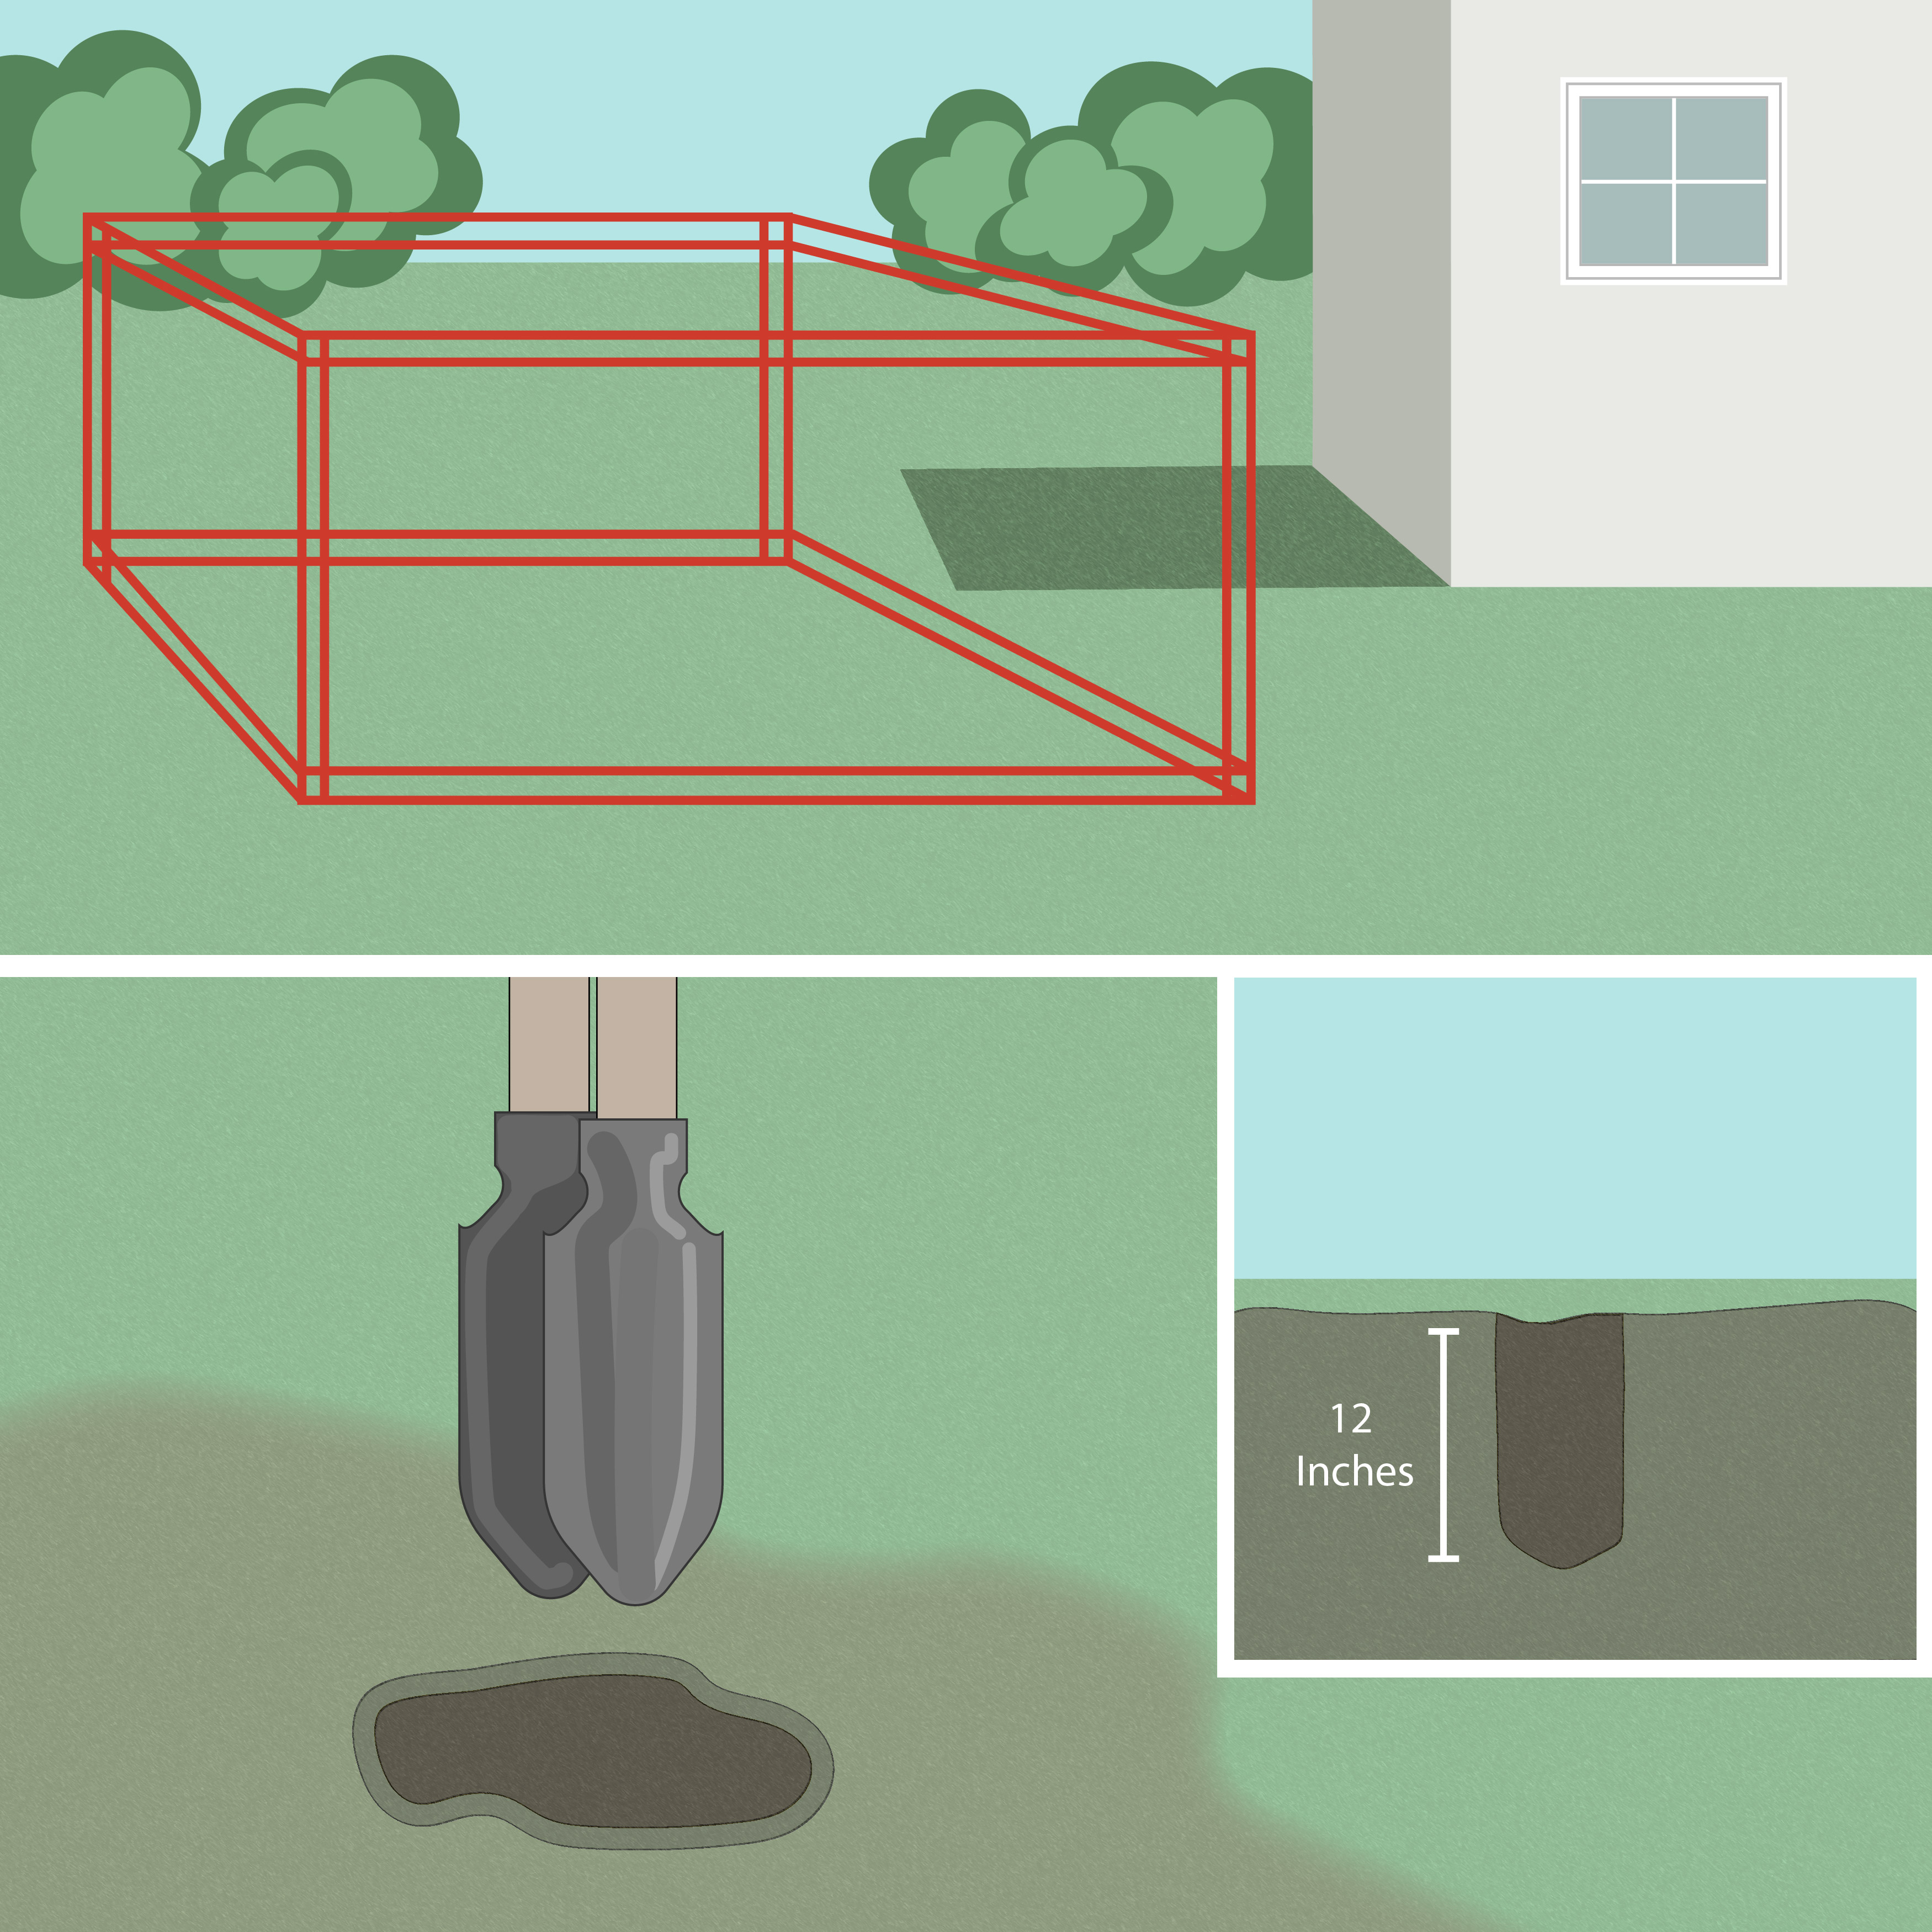
Step 1. Dig the post holes
Start by outlining your chicken run dimensions, then dig holes for the vertical posts. Each hole should be at least 12 inches deep, but you can go deeper for extra stability. Posts should be spaced evenly, typically 6 to 8 feet apart, to support the top rails and fencing securely. Use marking flags or stakes beforehand to stay organized.
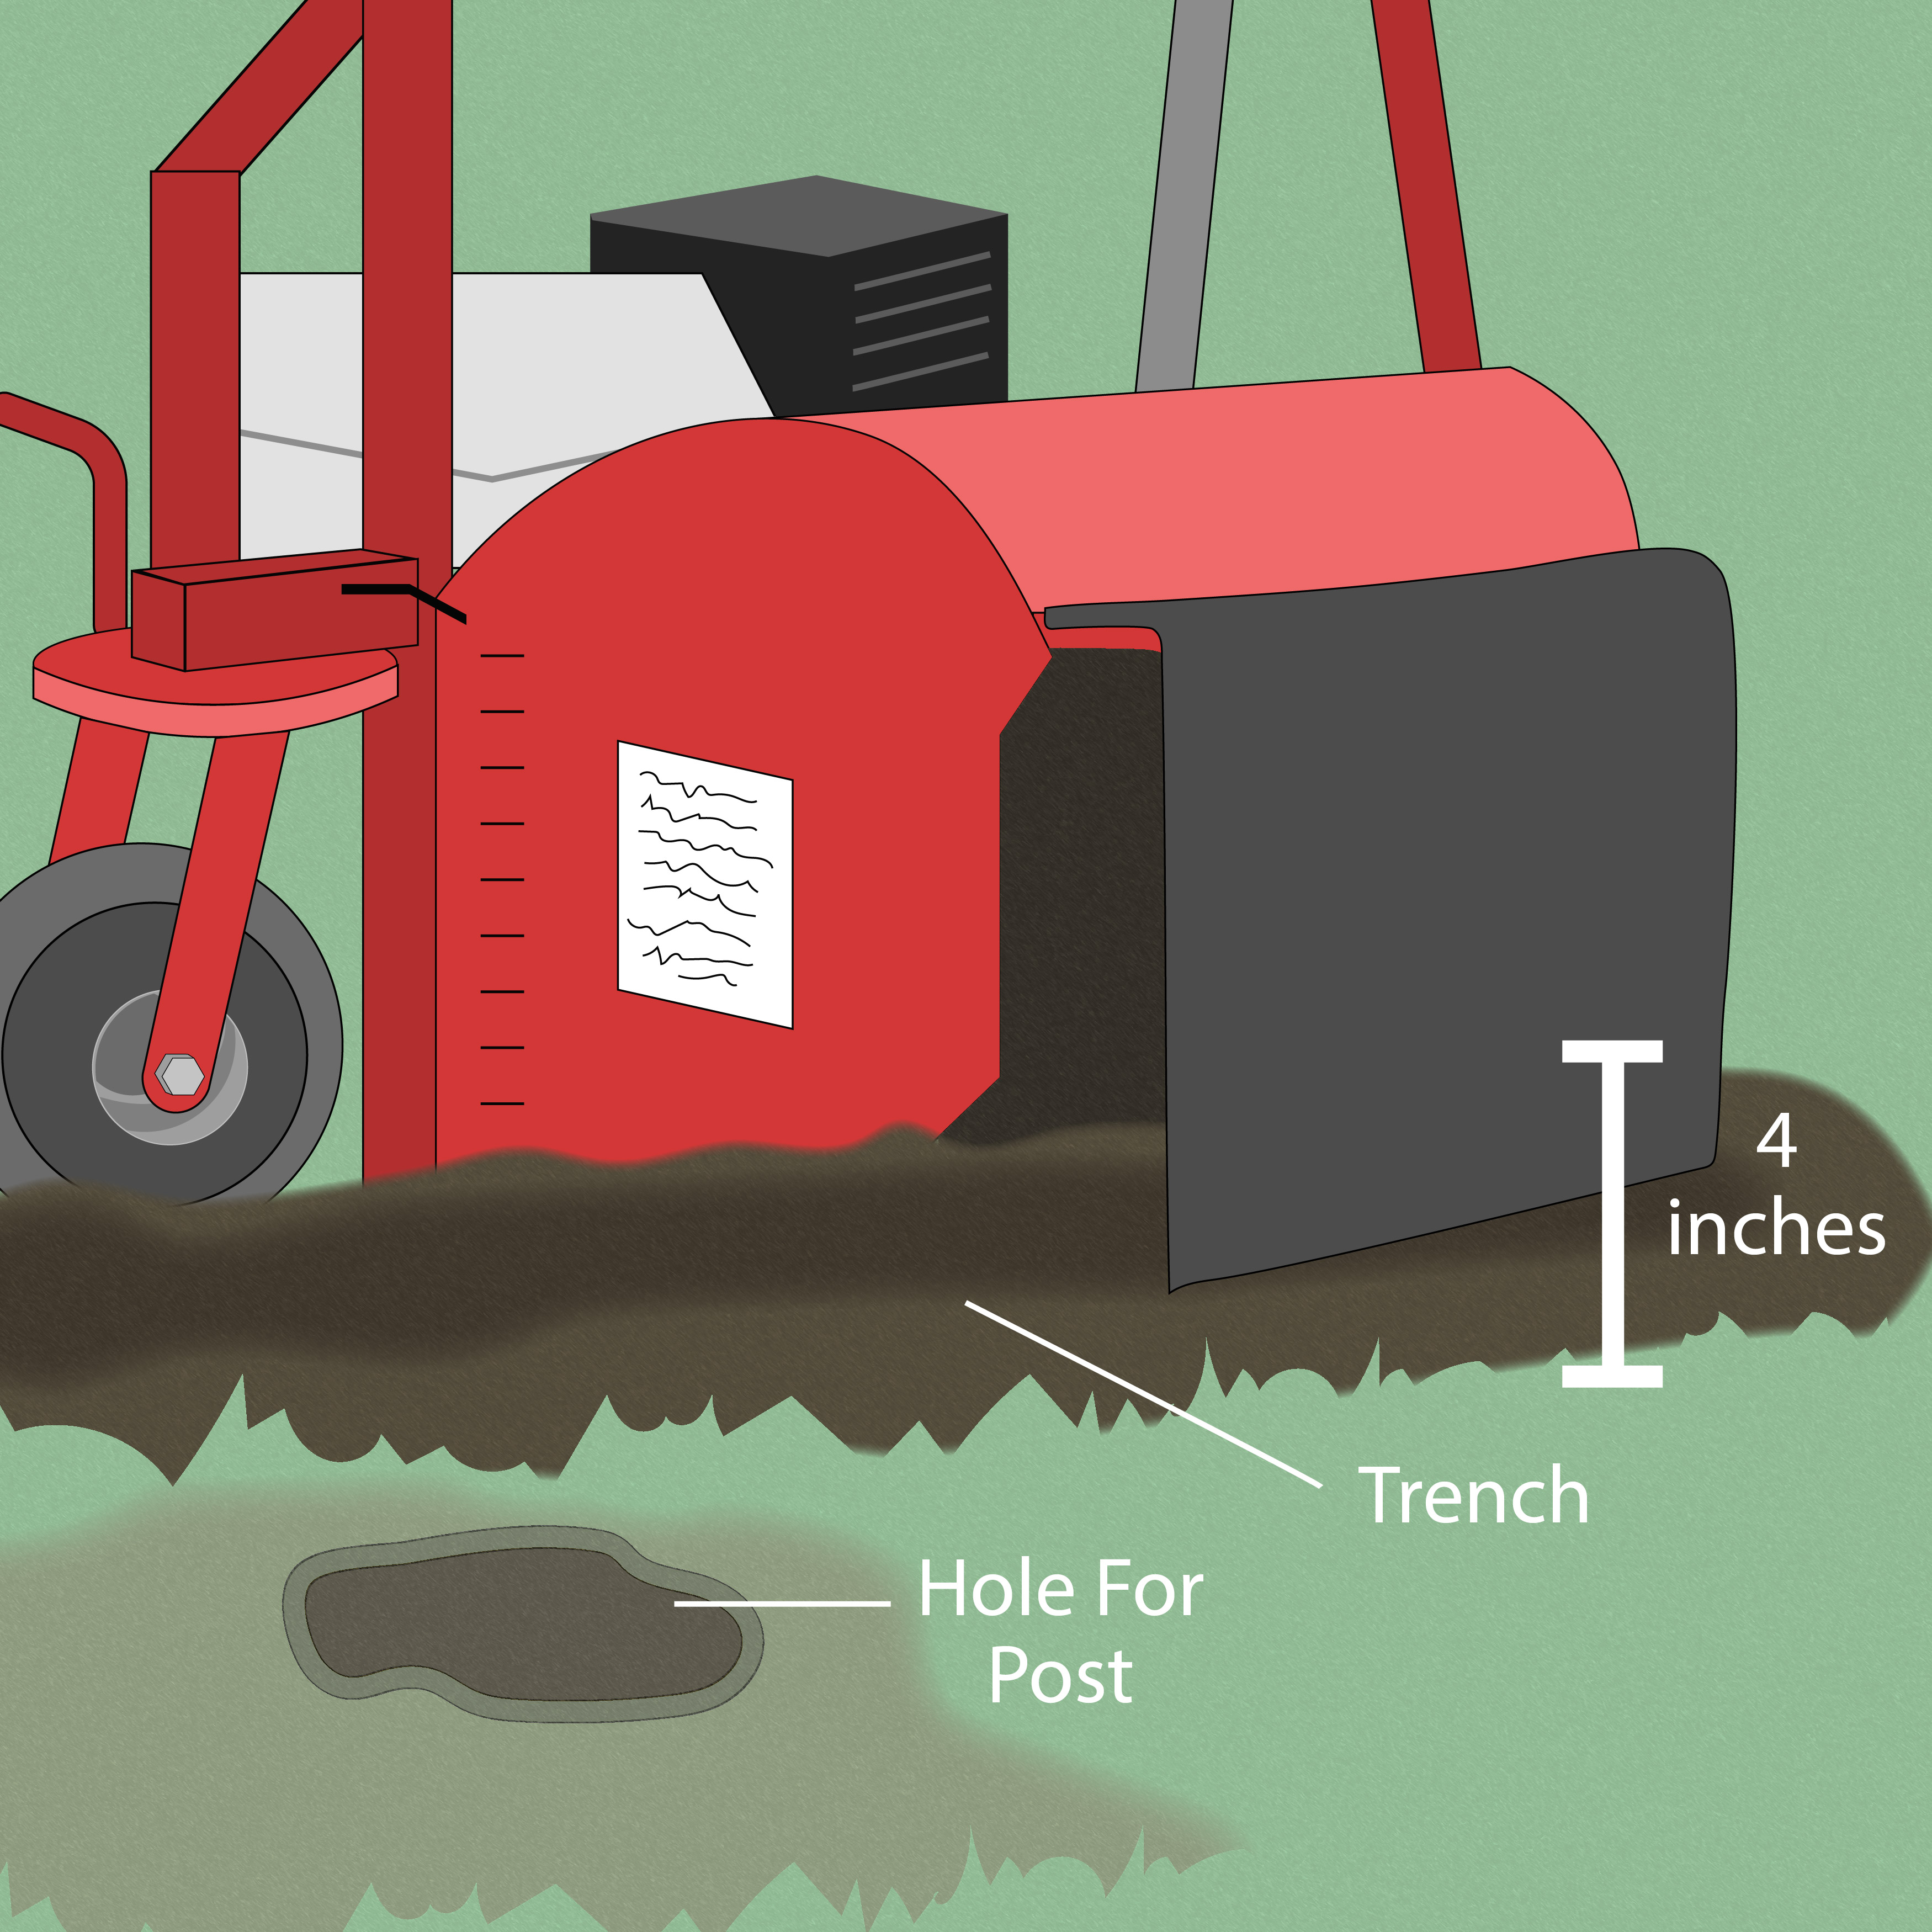
Step 2. Dig a 4-inch trench around the perimeter
Use a shovel or a Little Beaver Kwik-Trench to dig a shallow trench, about 4 inches deep, along the entire outside edge of the run. This trench will hold the bottom portion of your fencing and prevent predators from digging underneath. Be sure to save the soil; you'll need it later to bury the mesh.
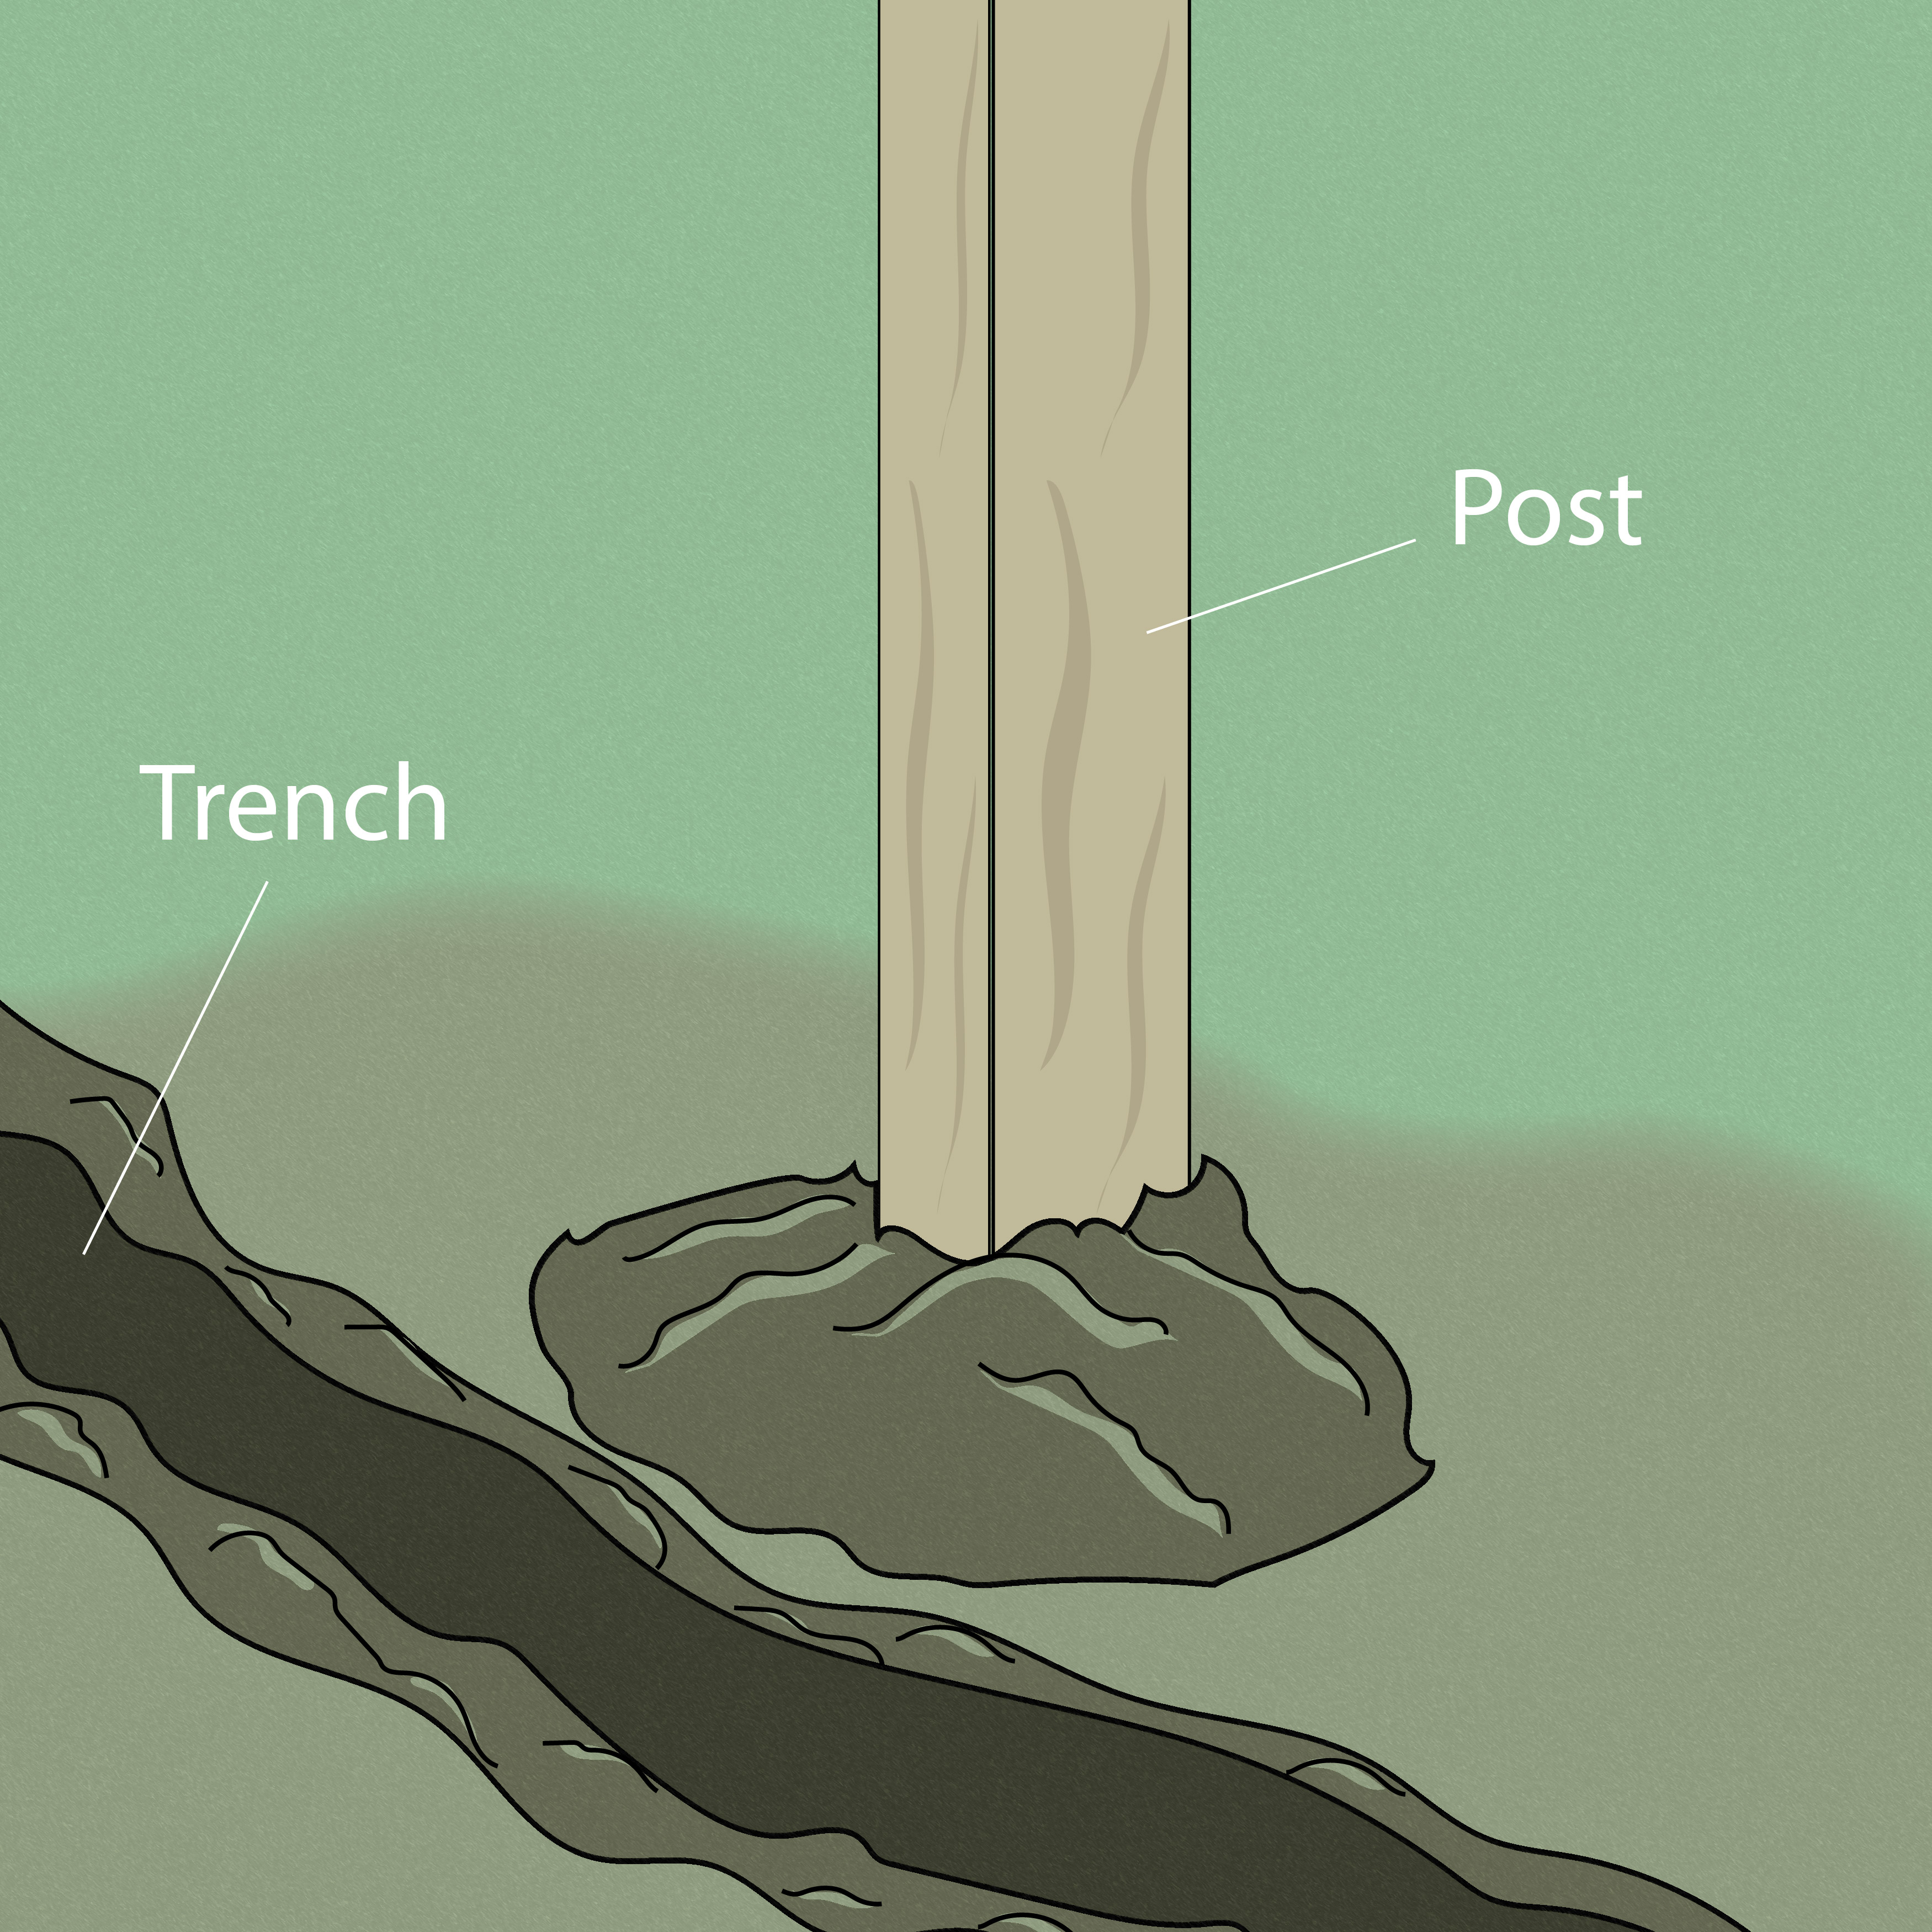
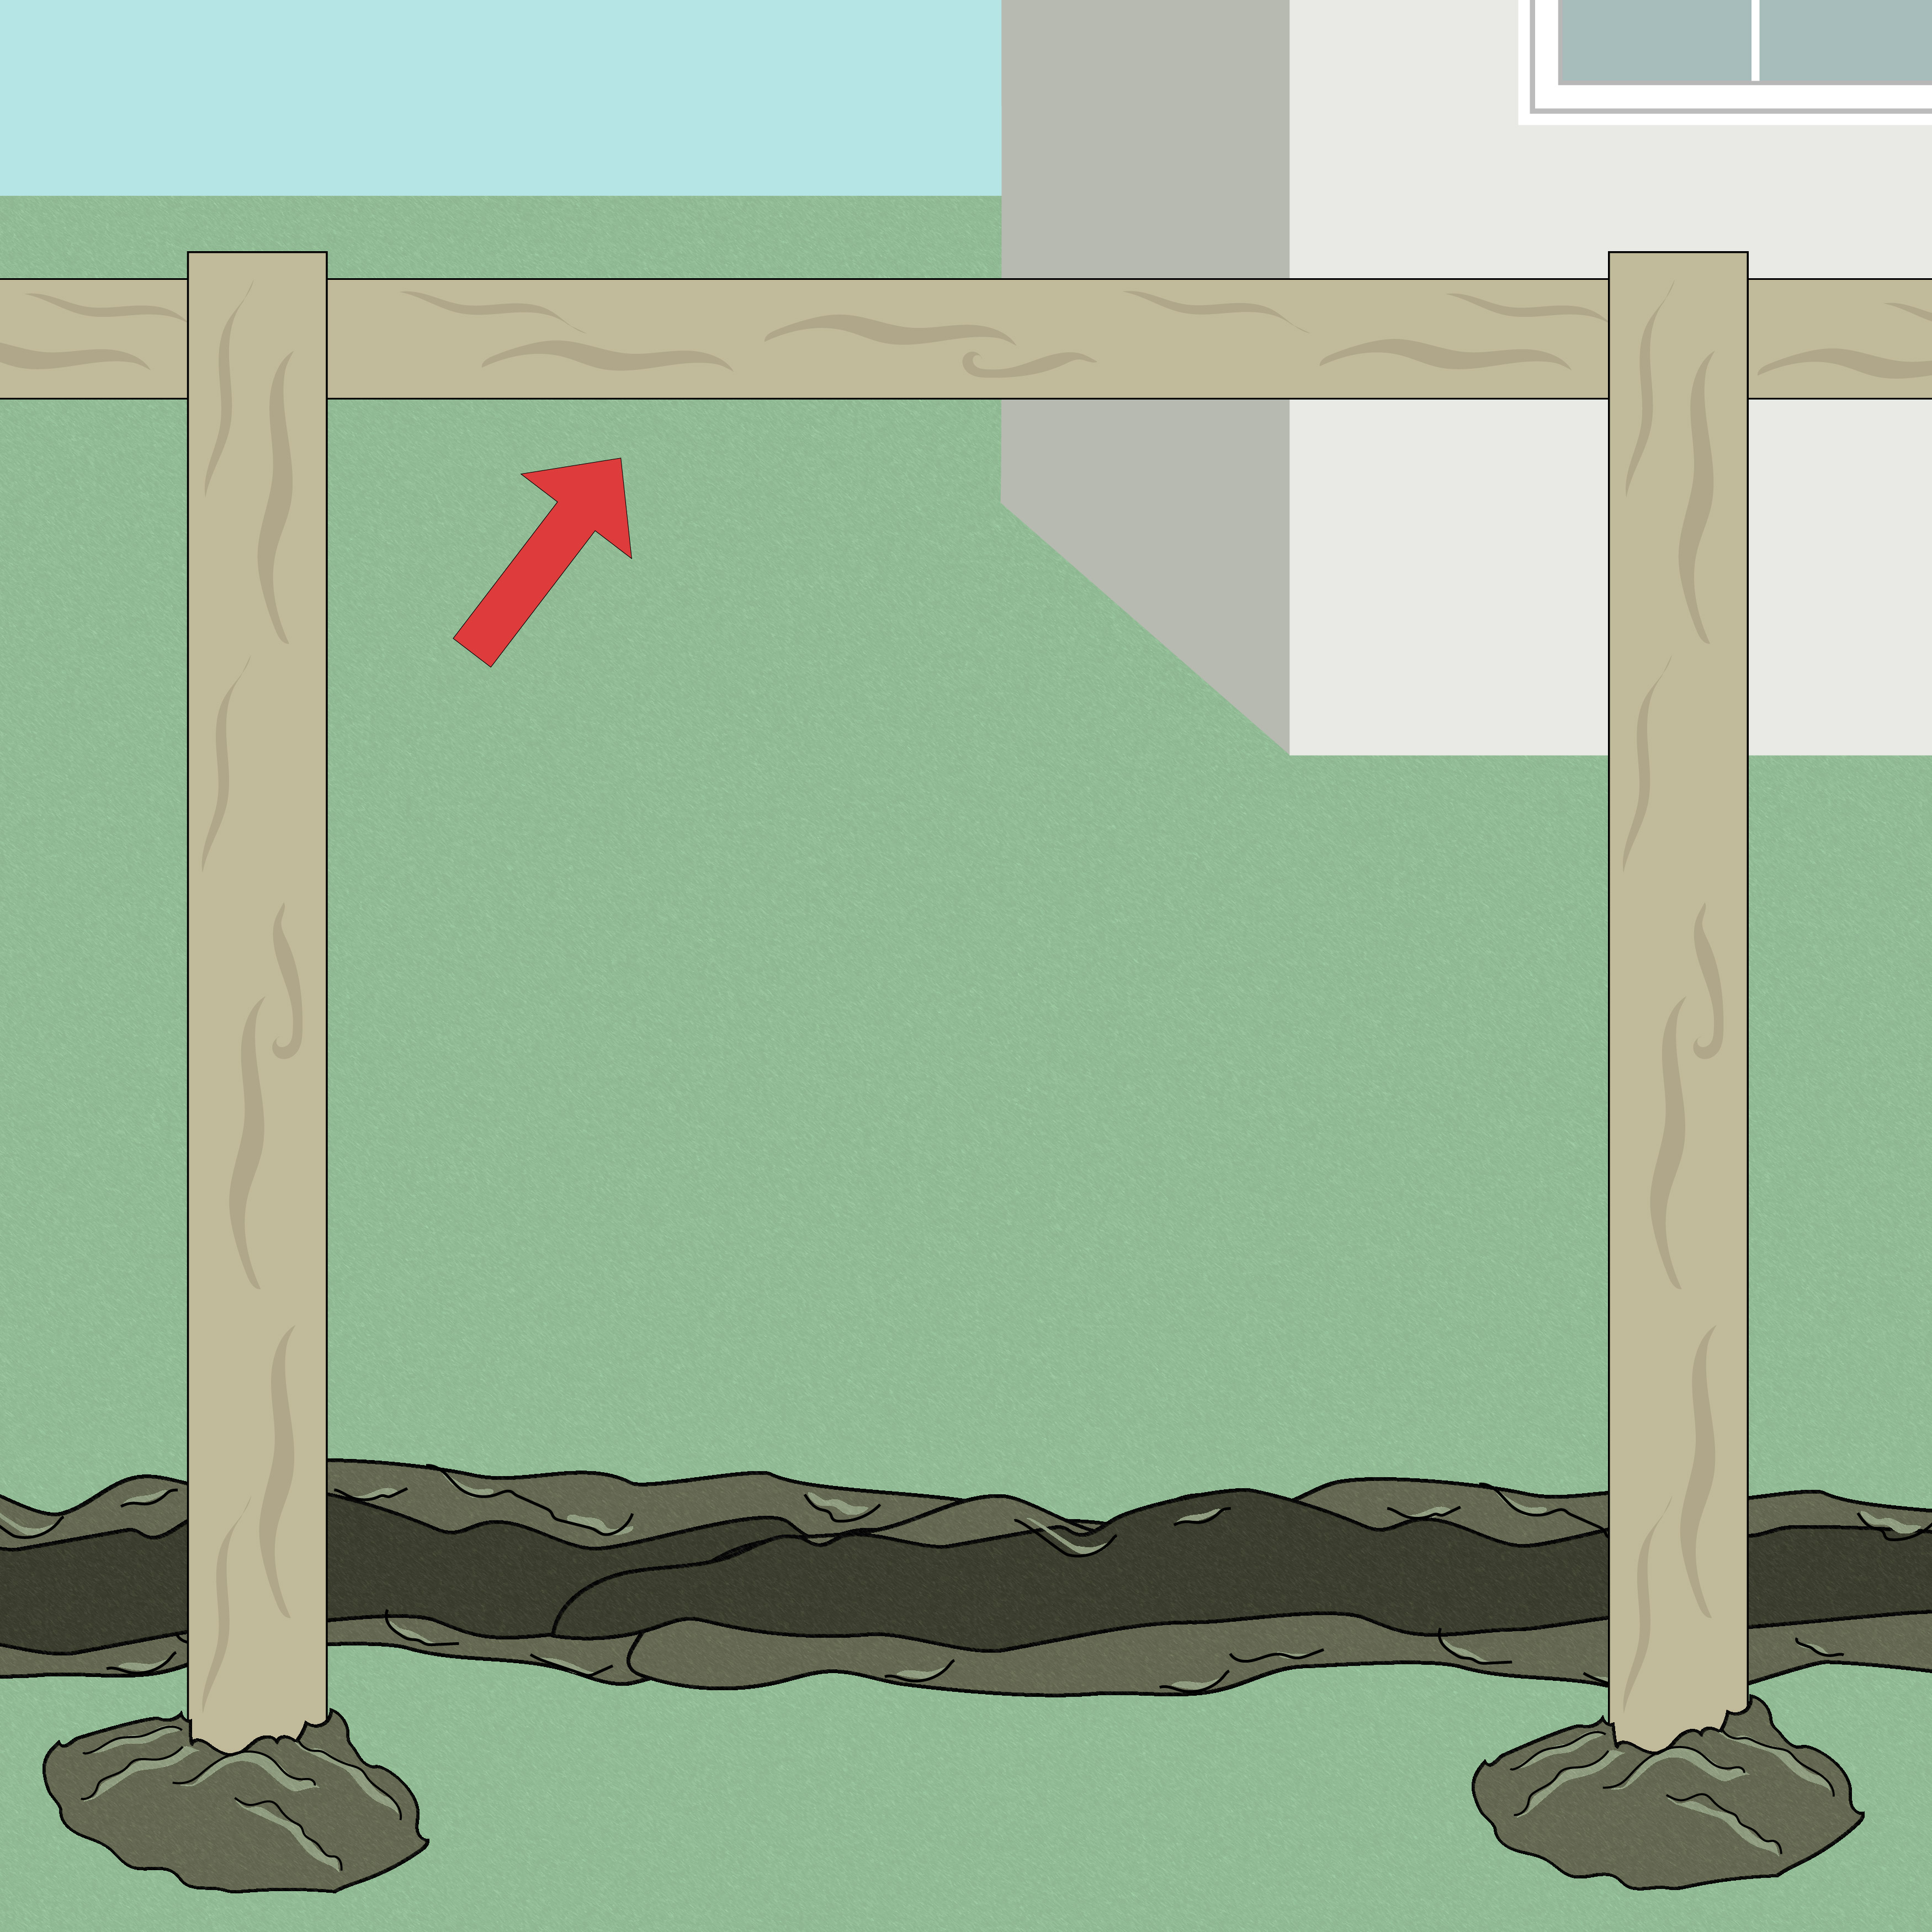
Step 3. Set and secure the posts
Place your posts into the dug holes and make sure they are vertically level. You can secure them using quick-set concrete for durability or pack them tightly with the soil you removed. Use a level and a string line to ensure everything is aligned correctly before proceeding to the next phase.
Step 4. Install a top rail
Attach a top rail that runs continuously around the frame, connecting all the posts. This top frame adds stability and provides something to attach the upper edge of your fencing to. Wood rails can be screwed into wooden posts or clamped to t-posts depending on the material used.
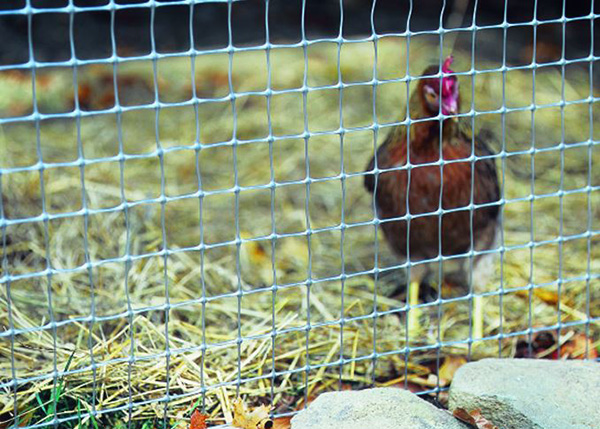
Step 5. Attach the fencing material
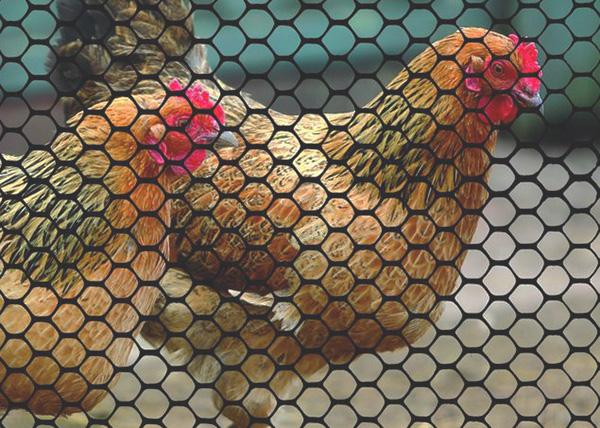
Wrap your chosen fencing, chicken wire, or mesh around the sides of the run. Leave at least 4 inches of extra mesh hanging at the bottom and a few inches extra at the top. The extra top mesh should overlap with the roof or cover, eliminating gaps. Black-coated mesh is a popular choice for better visibility and a cleaner look.

Step 6. Secure the base of the mesh
Take the extra 4 inches of mesh hanging at the bottom and fold it out into the trench. This creates a horizontal barrier that deters digging animals, such as raccoons or foxes. Once it's in place, backfill the trench with the soil you saved earlier, packing it firmly to keep the mesh secure.

Optional Step 7.: Add an outer support frame
For added strength and a more refined appearance, consider installing an outer frame along both the top and middle sections of your fence. This structural reinforcement helps keep the mesh securely in place, reducing the risk of sagging or warping over time, especially in areas subject to wind or frequent impact. It’s particularly useful when working with longer fence runs or when using lighter, more flexible mesh materials that are prone to stretching. The outer frame not only improves the visual appeal of the fence but also ensures long-term stability and consistent tension across the entire surface.
Adding a Gate or Door (Optional but Recommended)
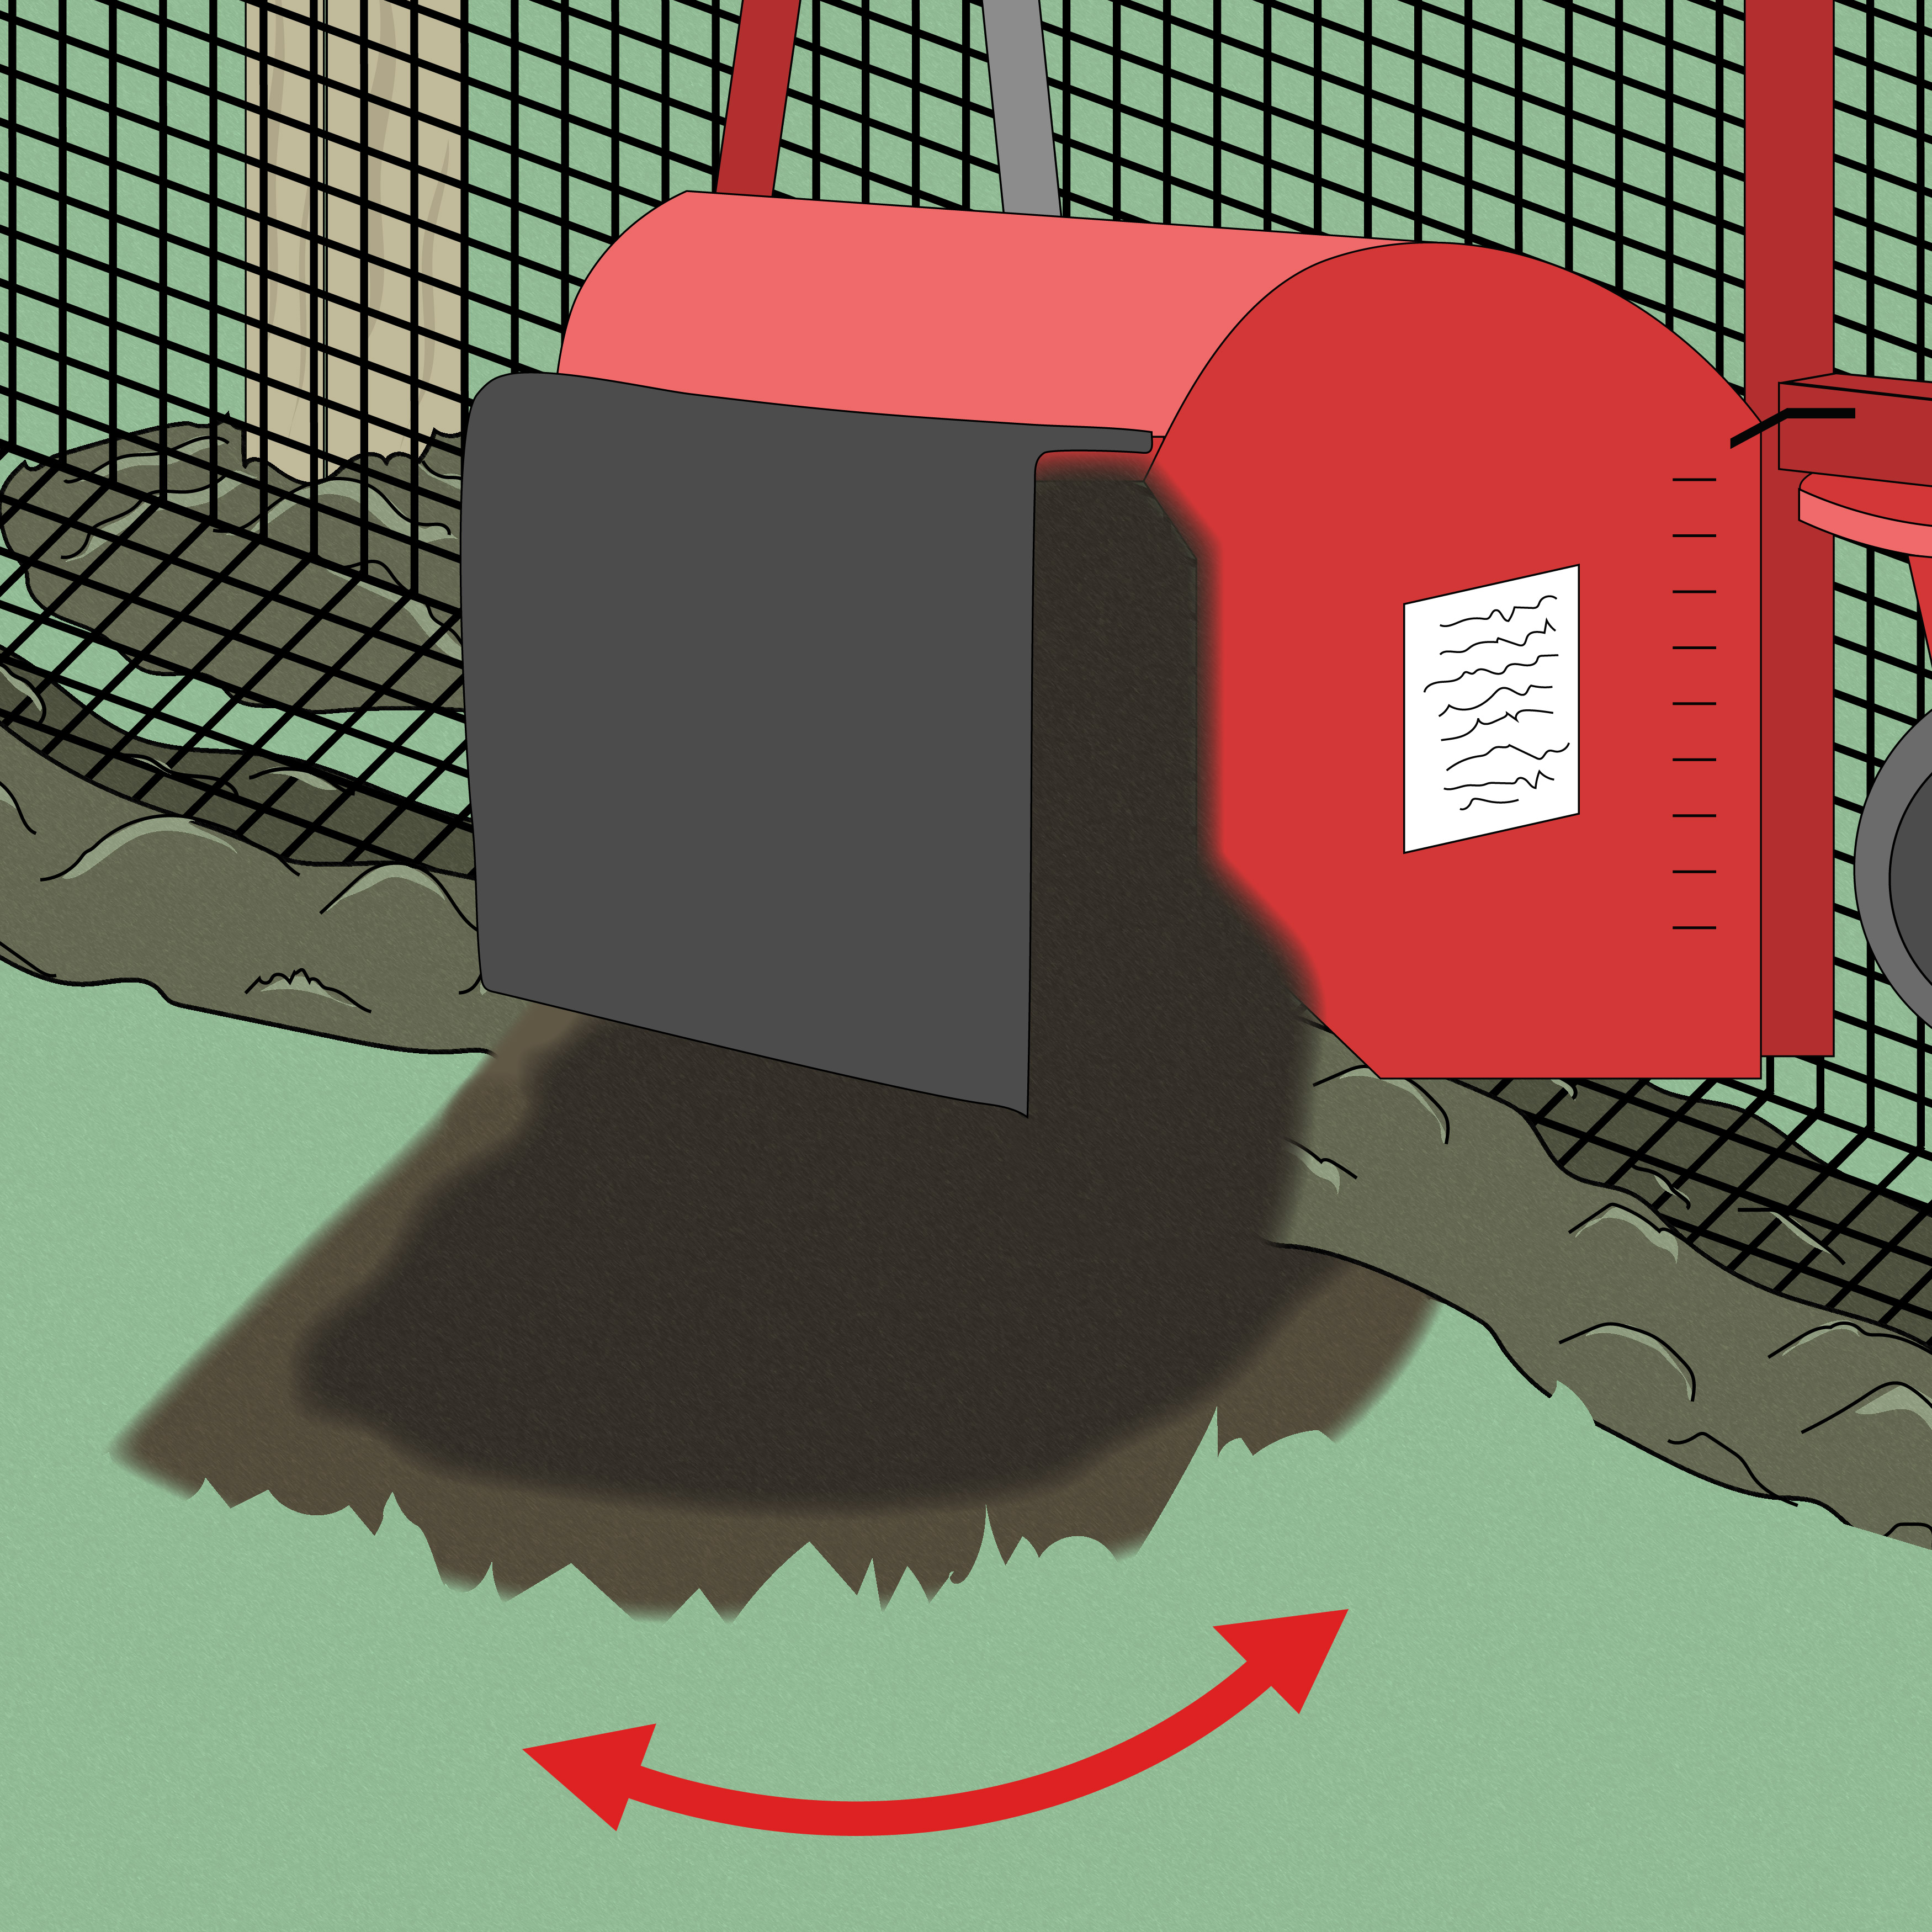
Step 8. Trench a quarter-circle for the door swing
If building a standalone run with a door, dig a small quarter-circle trench in front of the entry area to allow the door to swing outward freely. This keeps the bottom of the door from dragging and helps keep it clean of mud or bedding.
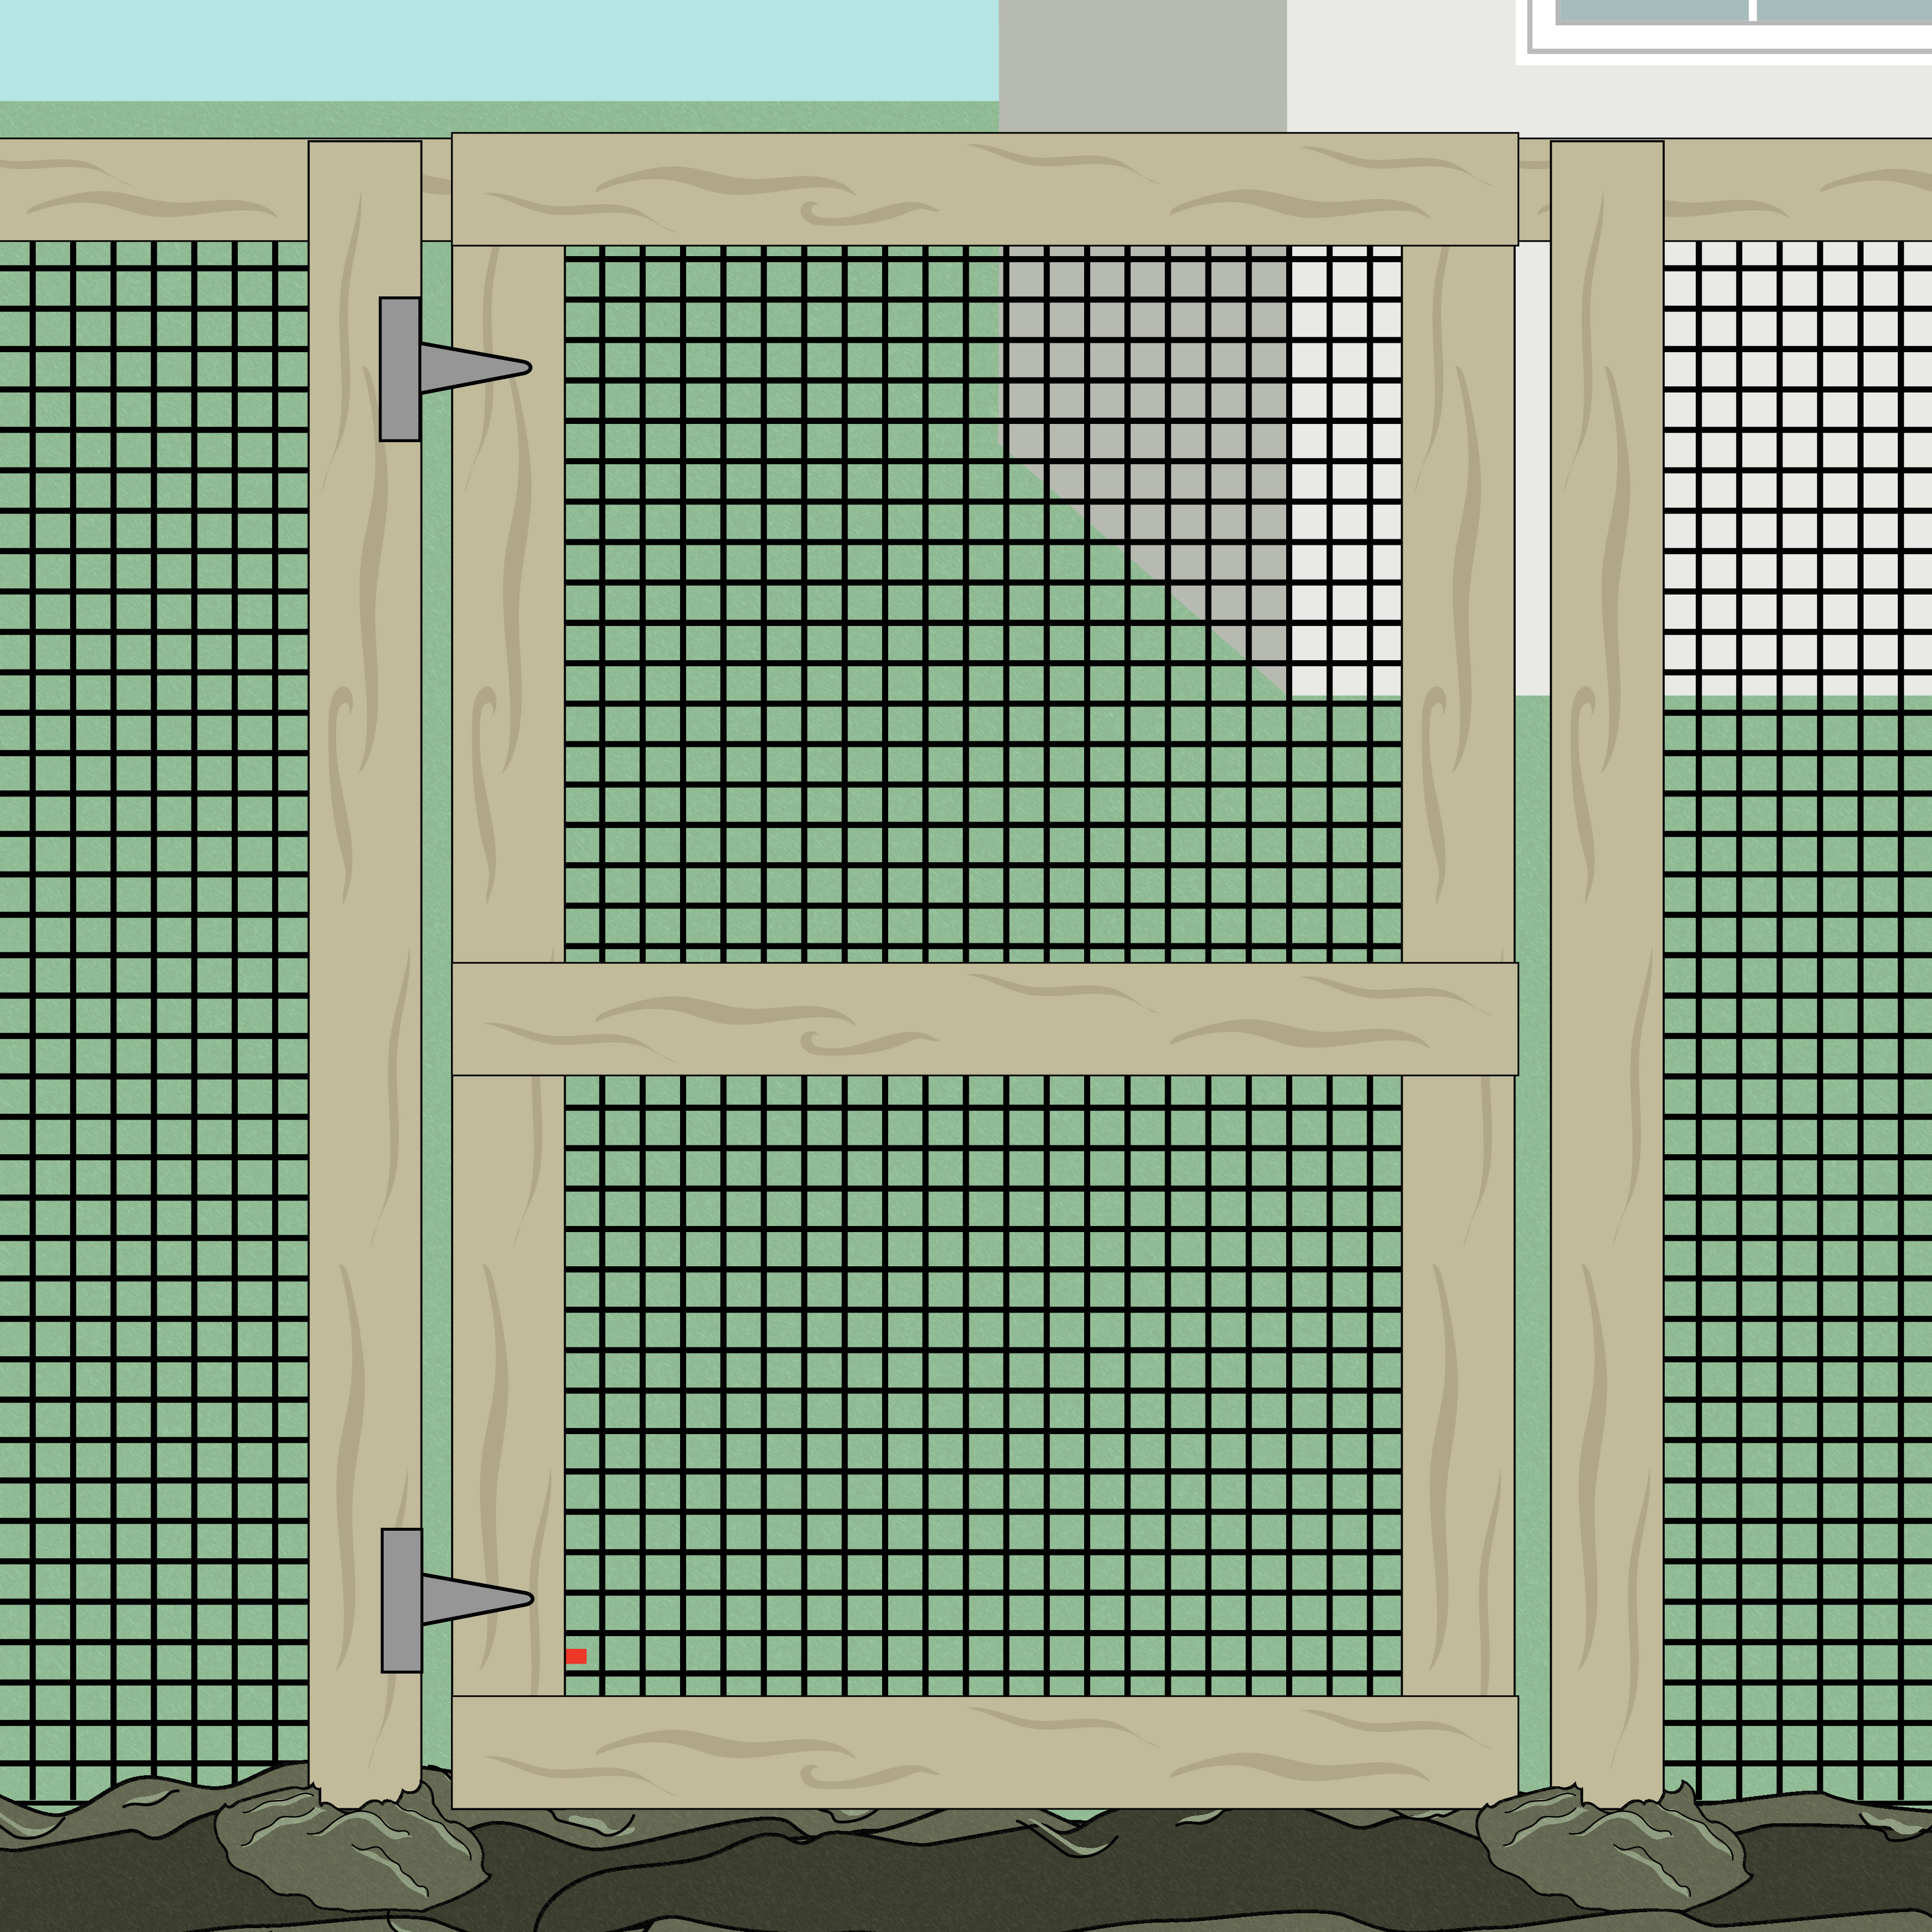
Step 9. Build the door frame
Construct a simple rectangular frame out of wood or metal that fits your entry space. It should be tall enough to walk through easily and wide enough to bring in feed, tools, or bedding materials.

Step 10. Attach mesh to the door
Secure your fencing material to the frame with staples or ties, leaving a small amount to hang below the frame. This extra flap should reach into the trench you dug earlier for added protection against unwanted visitors.

Step 11. Mount the door with hinges
Install the door onto your run frame using self-closing hinges, which help keep the run secure even if you forget to latch it behind you. Click here to view hinge options. Finish the door with a simple latch or lock to keep it secure.
What to Include Inside Your Chicken Run
Once your chicken run is built, it's time to make it comfortable and functional for your flock. Chickens love to scratch, forage, and dust bathe, so adding a few simple elements can go a long way in keeping them healthy and active.
- Hay or straw bedding: Laying straw or hay on the ground helps absorb moisture and gives chickens something soft and natural to dig and scratch in.
- Feeder and waterer: Place food and water in the center of the run to help prevent wild animals from reaching in through the fencing.
- Dust bath area: A shallow pan filled with sand or wood ash helps chickens stay clean and deter parasites.
- Shade and shelter: If your run is in a sunny spot, add a tarp or small roofed area to give your chickens a place to cool down.
- Enrichment items: Logs, perches, or hanging vegetables can keep chickens curious and engaged throughout the day.
Where to Buy an Auger or Trencher (And What to Look For)
If you're planning to build a chicken run or tackle any future outdoor projects, investing in the right digging equipment can save you hours of back-breaking labor. Two tools we highly recommend for this job are the Little Beaver Mechanical Earth Drill and the Kwik-Trench Earth Saw. Both are designed to be compact, user-friendly, and powerful enough for homeowners and pros alike.
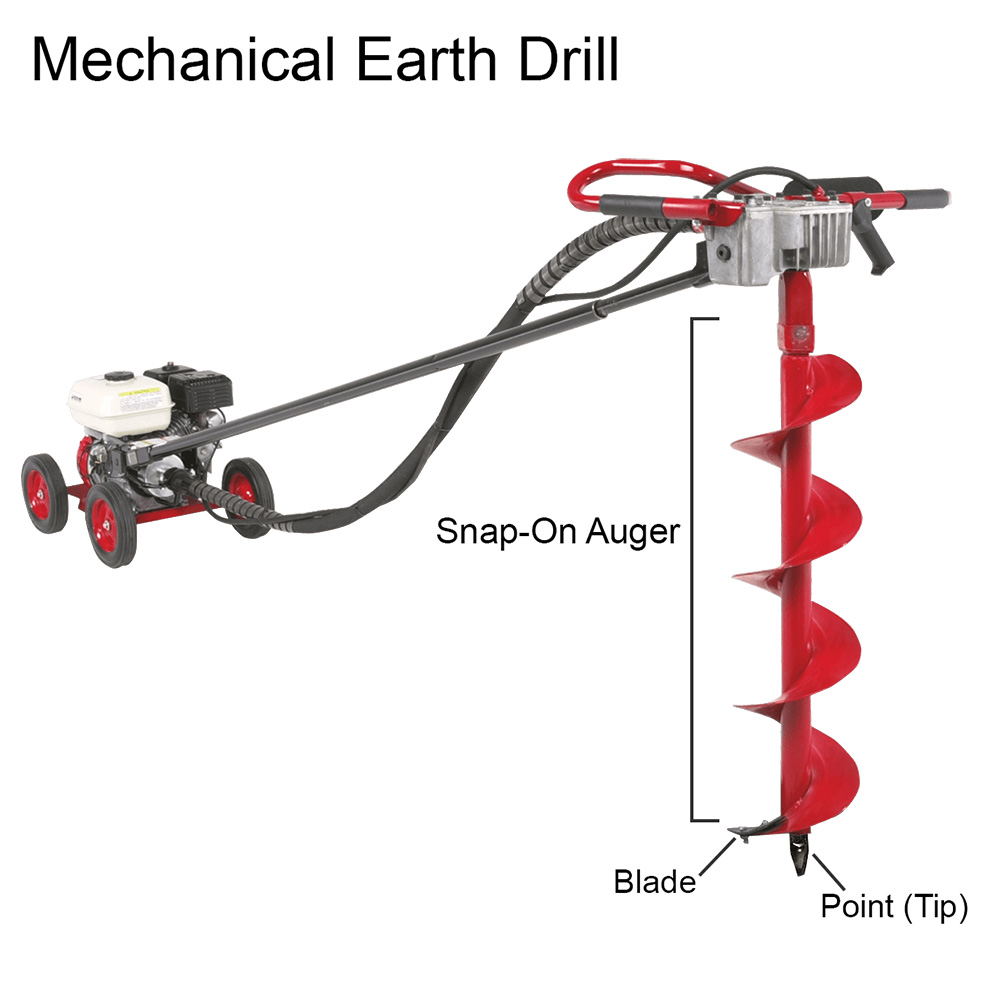
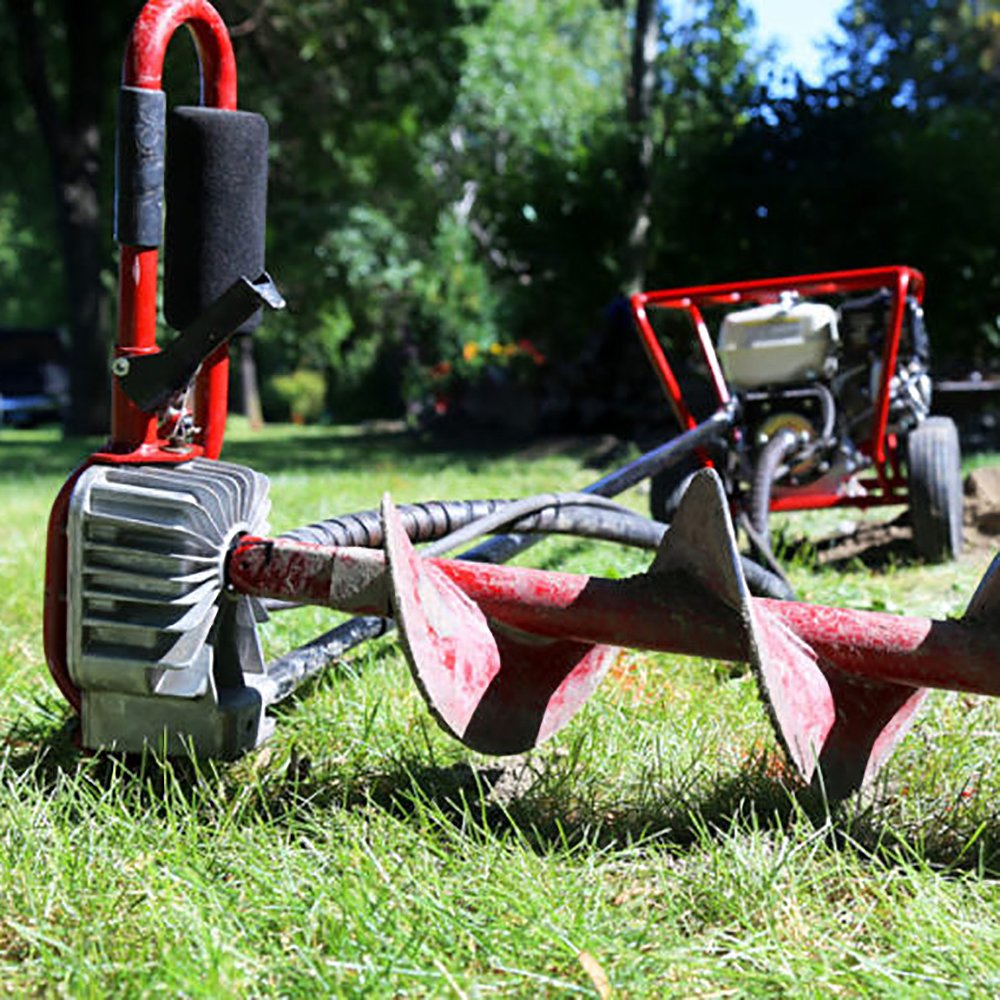
Understanding the Earth Drill vs. Auger Components
It's important to know that a mechanical earth drill is the power unit only; it does not come with the auger bit, tip, or blade. This often confuses first-time buyers who expect a complete digging setup out of the box. To dig holes, you'll need to pair your drill with a compatible auger and cutting components.
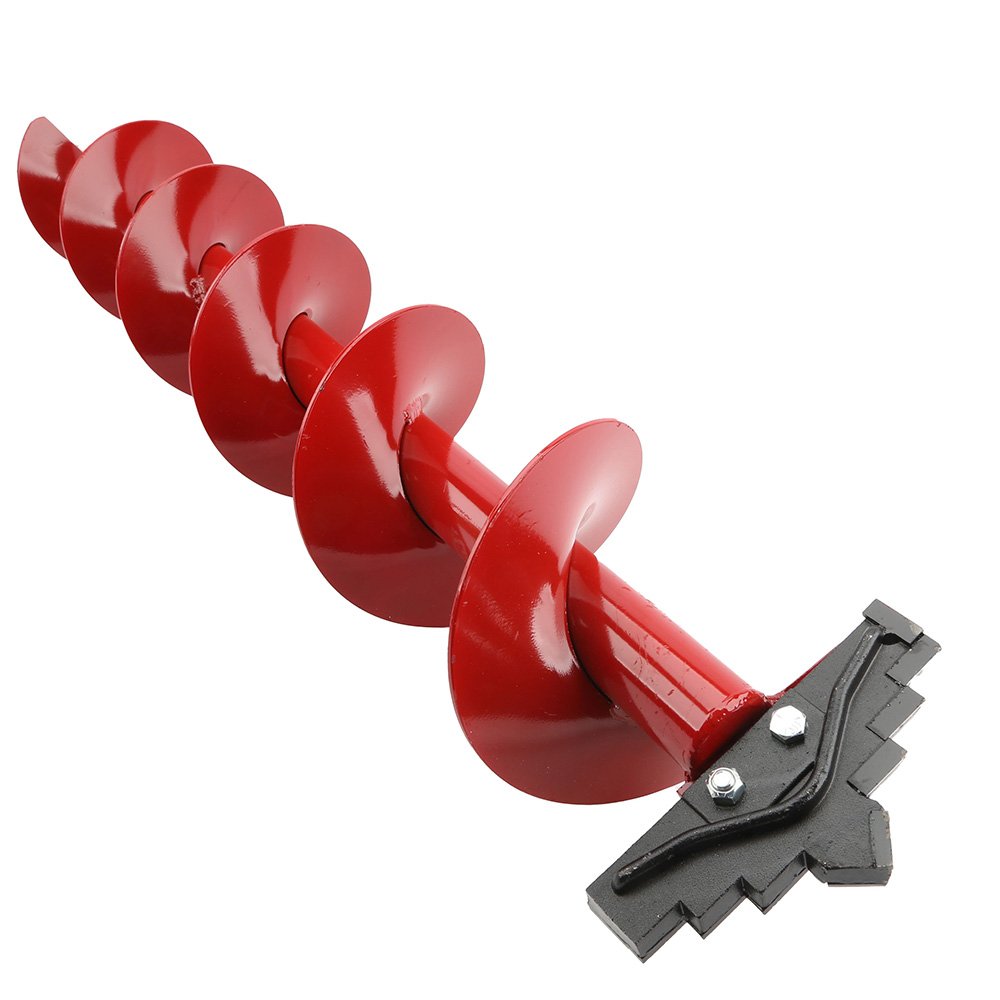
Choosing the Right Auger Blades and Tips
For digging post holes in compacted or rocky soil, a carbide tip and blade setup offers stronger cutting power and long-lasting durability. In softer ground like sand or loam, a standard dirt blade is usually sufficient. Both tips and blades are replaceable, making it easy to maintain your equipment without needing a whole new auger. You can shop auger points and shop replacement blades directly at LittleBeaverStore.
What Auger Is Best?
When choosing an auger for your chicken run project, you'll want to consider both the auger type and the width. For general soil conditions, a standard snap-on auger will usually do the trick. If you're dealing with rocky, clay-heavy, or compacted soil, upgrading to a carbide auger gives you extra cutting power and durability. For heavier-duty digging or professional-grade jobs, a Pengo-style auger is a great option with replaceable blades and points designed to handle tough conditions.
Auger Types:
- Shop Standard Snap-On Augers: ideal for most general soil conditions
- Shop Carbide Augers: better for hard, rocky, or compacted soils
- Shop Pengo-Style Augers: heavy-duty option for tougher digging jobs
As for width, a 6-inch to 8-inch auger bit is typically ideal for chicken run posts. A 6-inch bit works well for steel or t-posts, while 8 inches gives enough room for wood or vinyl 4x4 posts. Only consider 10 inches or larger if you're using oversized posts or want to set them in extra concrete.
Auger Widths:
- 6" Auger: ideal for t-posts or narrow framing
- 8" Auger: best for 4x4 wood or vinyl posts
- 10" or Wider: only needed for oversized posts or extra concrete reinforcement
Using a Trenching Tool
To keep your chicken run predator-proof, trenching along the perimeter is key. A 4" deep trench allows you to bury your fencing material and prevent animals from digging in. The Little Beaver Kwik-Trench Earth Saw is perfect for this task, lightweight, maneuverable, and able to cut clean, narrow trenches without the need for heavy equipment.
- Trench depth: 4-6 inches is enough for most fencing applications
- Trench width: 2-4 inches allows for secure mesh burial
Where to Buy Earth Drills and Trenchers
All of these tools and components are available directly through LittleBeaverStore.com , the trusted source for genuine Little Beaver equipment and parts. Whether you're looking for a complete drill setup or need a replacement blade or auger, we make it easy to build a customized order for your project. If you have questions or need help selecting the right parts, feel free to contact us.
Ready to Build Your Chicken Run?
Creating a chicken run is a rewarding way to give your flock a safe and enriching space to roam, and with the right tools and materials, it's a project most DIYers can tackle with confidence. If you have any questions about building your run or need help selecting the right equipment, please don't hesitate to reach out. Little Beaver Store, Gate Security Hardware, Chain Link Fittings, and Tenax Fence are all part of the DF Supply, Inc. family, so you can shop confidently, knowing you're getting quality products and expert support from a team that understands your project. Contact us if you have questions or would like help putting together a single, coordinated order with products from across our sites.